


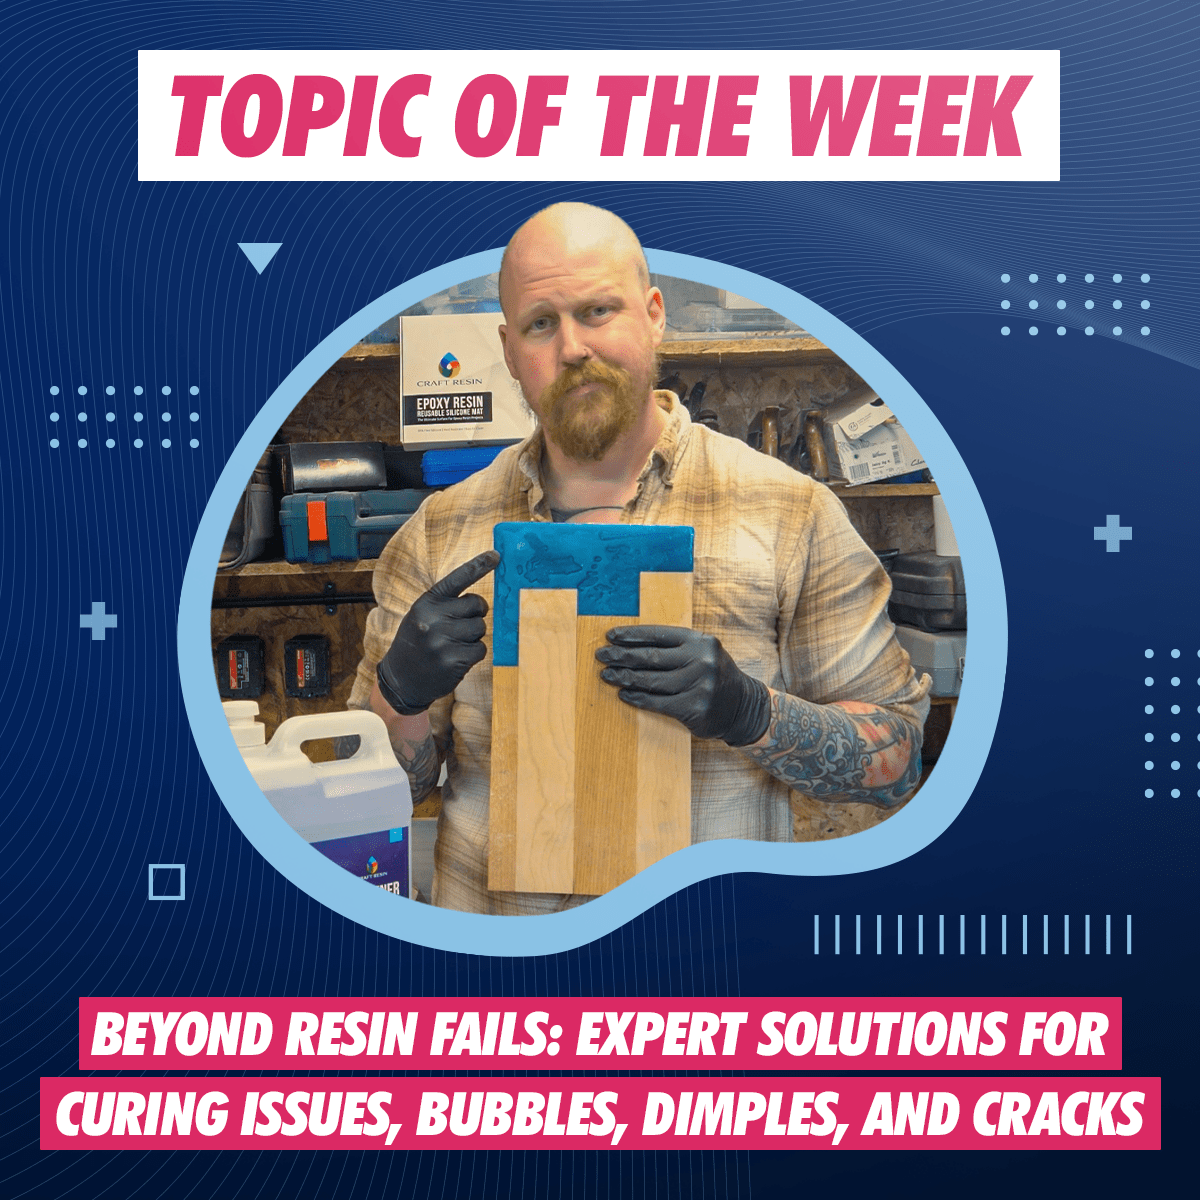
Epoxy resin crafting offers a fantastic avenue for creativity, allowing enthusiasts to create stunning jewelry, art pieces, and functional items. However, the journey isn't always smooth. Many beginners and even experienced crafters encounter frustrating issues like uneven curing, stubborn bubbles, surface dimples, and even cracks caused by overheating. This comprehensive guide delves into these common resin fails, providing expert insights and practical solutions to help you achieve flawless, professional-looking results every time.
Tackling Uneven Curing
One of the most disheartening problems is when your resin doesn't cure evenly, leaving sticky or soft spots alongside hardened areas. Understanding the culprits behind this is the first step towards a perfect cure.
As highlighted in Craft Resin's video, "Resin Fails: Why Isn't My Resin Curing Evenly?", several factors contribute to this issue. Temperature plays a critical role; epoxy resins typically require a stable ambient temperature of 22-25°C (72-77°F) to cure properly. Cold spots in your workspace can hinder the chemical reaction in those areas. Secondly, inadequate mixing of the resin and hardener is a frequent cause. These two components must be thoroughly combined for the chemical reaction necessary for hardening to occur. The video recommends mixing for a full 3-5 minutes, diligently scraping the sides and bottom of your mixing container to ensure all parts are well integrated. Finally, layer thickness can also be a factor. Layers that are too thin might not generate enough heat to initiate a complete cure, while excessively thick pours can lead to overheating (discussed later). Lastly, using old or improperly stored resin can also compromise its ability to cure correctly.
Solutions for Uneven Curing:
Maintain a Stable Temperature: Ensure your workspace remains within the ideal temperature range throughout the entire curing process. Use a heat mat or control the room temperature if necessary.
Mix Thoroughly: Dedicate the recommended mixing time (usually specified by the resin manufacturer) and technique, ensuring you scrape the container to fully combine the resin and hardener.
Respect Layer Thickness: Follow the manufacturer's guidelines for the maximum pour depth. For thicker projects, consider pouring in multiple layers, allowing each to partially cure before adding the next.
Use Fresh Resin: Check the shelf life of your resin and store it according to the manufacturer's instructions (typically in a cool, dry place) to maintain its quality.
Eliminating Pesky Bubbles
Bubbles are the bane of many resin crafters' existence, marring the clarity and finish of otherwise beautiful pieces. Fortunately, there are effective strategies to prevent and remove them.
The video "Resin Fails: How To Get Rid of Bubbles in My Resin" offers valuable advice. Again, temperature plays a role; extreme temperatures can affect the viscosity of the resin, making it harder for bubbles to escape. Warming your resin and hardener slightly by placing their containers in a warm water bath (before mixing) can help thin them out, allowing bubbles to rise more easily. The mixing process itself can introduce bubbles, so it's crucial to mix slowly and steadily rather than vigorously. The recommended mixing time of 3-5 minutes should be adhered to, but gentler movements will minimize air incorporation. A key tool in bubble removal is a heat gun. After pouring your resin, a quick pass with a heat gun held a few inches above the surface will cause surface tension to break and release trapped bubbles. Remember to keep the heat gun moving to avoid overheating. Importantly, the video advises against using a hair dryer, as it can actually blow air and introduce more bubbles.
Solutions for Bubble Problems:
Optimize Temperature: Work in a room with a moderate temperature (22-25°C) and consider pre-warming your resin and hardener.
Mix Gently: Stir slowly and deliberately to minimize air incorporation.
Use a Heat Gun: After pouring, gently pass a heat gun over the surface to release bubbles.
Avoid Hair Dryers: They can exacerbate the bubble issue.
Achieving a Smooth Surface: Banishing Dimples
Surface imperfections like dimples can detract from the overall appeal of your resin creations. Understanding why they occur and how to address them is crucial for a flawless finish.
As explained in the Craft Resin Channel's video, "Resin Fails: How to Fix Dimples In Resin Projects", dimples often arise due to surface tension caused by contaminants or trapped air. Similar to bubble prevention, warming your resin and hardener before mixing can help reduce viscosity and allow trapped air to escape more readily, preventing them from surfacing as dimples later. Cleanliness of your molds is also paramount. Residue, dust, or grease on the mold surface can interfere with the resin's ability to flow and settle smoothly, leading to indentations. Wiping your molds with rubbing alcohol before pouring can help ensure a clean surface. The pouring technique itself can also influence the formation of dimples. Pouring slowly and evenly across the entire surface allows the resin to settle uniformly. If dimples do appear after curing, the video suggests a practical fix: lightly sand down the affected areas with fine-grit sandpaper and then pour a thin layer of fresh resin over the sanded surface to create a smooth, even finish.
Solutions for Surface Dimples:
Pre-warm Resin Components: This reduces viscosity and aids in bubble release.
Thoroughly Clean Molds: Use rubbing alcohol to remove any contaminants.
Pour Slowly and Evenly: Allow the resin to settle smoothly.
Sand and Re-pour: For existing dimples, lightly sand and apply a new thin layer of resin.
Preventing Overheating and Cracks
While resin curing generates some heat (an exothermic reaction), excessive heat buildup can lead to serious problems like cracking, warping, and even discoloration.
The video "Resin Fails: Why Does My Resin Get Too Hot and Crack?" sheds light on the causes and prevention of this issue. Pouring too much resin at once is a primary culprit. The heat generated during the curing process can become trapped in large volumes, accelerating the reaction and leading to overheating. This can result in cracking, excessive bubbling, or even a scorched appearance. An improper mixing ratio, particularly an excess of hardener, can also cause a faster and more intense exothermic reaction. The ambient temperature of your workspace also plays a role. Working in a very warm environment can exacerbate the heat generated by the resin. Craft Resin recommends an optimal temperature of 22-25°C. Finally, overzealous use of a torch to remove bubbles can also contribute to localized overheating and potential cracking.
Solutions for Overheating and Cracks:
Pour in Layers: For larger projects, adhere to the manufacturer's recommended maximum pour depth and pour in multiple layers, allowing each to partially cool before the next pour.
Adhere to Mixing Ratios: Precisely measure and mix the resin and hardener according to the manufacturer's instructions.
Control Workspace Temperature: Work in a well-ventilated room with a temperature between 22-25°C.
Use Heat Tools Judiciously: Employ heat guns sparingly and keep them moving to avoid localized overheating.
Mastering resin crafting involves learning from both successes and failures. By understanding the common pitfalls related to curing, bubbles, surface imperfections, and overheating, you can proactively implement the expert solutions outlined in this guide. Remember to always consult the specific instructions provided by your resin manufacturer, as formulations and recommendations can vary. With careful attention to detail, proper techniques, and a bit of practice, you'll be well on your way to creating stunning and flawless resin masterpieces. Don't be discouraged by initial challenges – each project is a learning opportunity, and with perseverance, you can confidently overcome resin fails and unlock your creative potential.
