


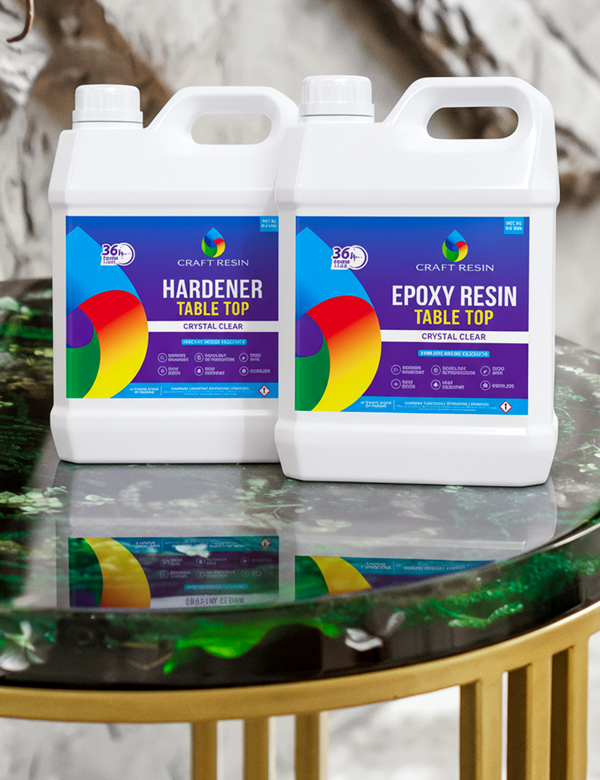

Covering your artwork in Craft Resin is super simple, it’s what our epoxy resin was originally designed to do.
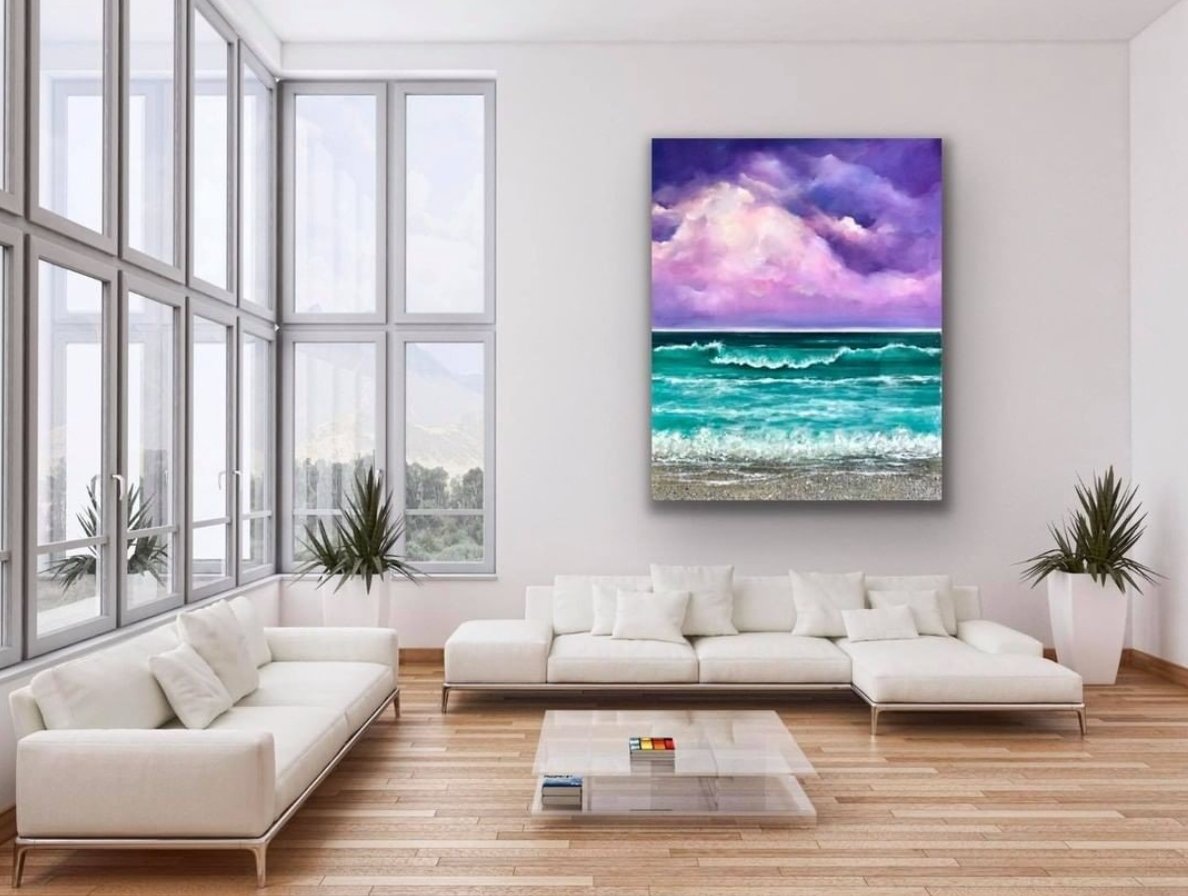
Artwork can degrade over time, but with a layer or two of epoxy resin over the top this can protect your work and keep it looking incredible over the years. It can also add an extra dimension and gloss to your work, making the colours really stand out.

Before you begin:
As with any resin project you need to ensure you have the right kit close to hand, and your work area set up ready to begin. Find out the extra items you’ll need alongside your resin kit in our equipment blog.
Next, make sure that your room is at the perfect temperature to work with Craft Resin, between 21-24C or 70-75F. It needs to be this temperature throughout the time it takes to work on your project and during the curing phase of at least 24 hours too.
If your resin and hardener has been left for a long period of time in a room that is between the temperatures above, it may be warm enough to work with already, but as an extra step just to make sure, you can always leave the bottles to warm for 10-15 minutes in a sink full of warm water. Make sure the bottles are kept done up and that the water doesn’t go past the level of the Craft Resin label.
While you are leaving your resin/hardener to warm up, you can also check the temperature of your artwork. If the artwork feels cool to the touch then you will need to warm this up too. You can do this by placing it on a heat mat or by a radiator for a short while.
If your artwork is colder than the resin, when the resin is poured onto the artwork it can cause a temperature shock and will leave issues to appear in your cured resin later on. Issues like a ripple effect or separation can be caused by your artwork being too cold.
Before you pour the resin over your artwork you’ll want to raise it off the surface so that any resin drips over the sides and covers the edges, or create a dam at the edges to stop the resin from going over the sides, depending on the look you’d like to achieve with your work.
Paper cups turned upside down are handy to use to prop your work up, but make sure you place plastic sheeting below your work to catch any resin that does go over the edges.
Make sure at this point that your artworks surface is flat, resin self levels and will run off if it’s tilted.
Please note, any artwork you use for this project needs to be fully dry before applying the resin mixture to the surface.
Sealing your artwork:
Depending on the surface you have chosen to create your artwork on and the paint used, you may need to seal your artwork before applying a layer or two of resin over the top.
If you are unsure, please always test out how different surfaces and paints work before trying it on one of your main and possibly larger projects.
If you use softer lower quality paper to paint your artwork on, this can actually soak in the resin and leave patches in your work darker than normal or may cause the paint to bleed. If you have used this type of paper you will need to seal your work first.
If however, you have used a glossy paper, then this might be just fine as resin will normally stick to glossy paper as opposed to matte paper.
If you have any loose materials on your work, these can move around as the resin flows, items like glitters that haven’t been fixed to the painting, or powdery chalks that have been used. If you think these could get mixed with the flowing resin and effect your work always seal these first.
Mod Podge glue and gloss can be great for sealing your artwork, simply brush it over your artwork with a paintbrush then leave to dry before applying your resin layers. There are other substances available to help seal your work, you’ll need to do some further research to find the one that would best suit your project.
Measuring your resin mix:
Once you have everything set up and you are ready to go you can follow the steps below to measure, mix and pour your resin over your artwork.
If you are new to using resin, we would probably recommend trying these techniques on a piece of artwork that isn’t your version of the Mona Lisa on your first go. If you have a smaller piece of artwork that won’t matter if any of the steps do go slightly wrong, this would be a good piece to start on.
Measure your warm resin and hardener by a 1:1 volume, not by weight, weighing will throw the delicate balance needed of resin and hardener, and it won’t cure properly.
To measure by volume simply get two measuring jugs of the same brand and size, pour the resin and hardener into separate jugs up to the same levels, then place the jugs next to each other and check with eyesight to make sure they are both level. You can then pour one into the other if there is enough room to mix the resin and hardener together in the jug.
Silicone is a great material for the measuring and mixing jugs to be made out of as resin doesn’t stick to silicone, so they can easily be cleaned and re-used to reduce waste.
If your artwork is a square or rectangular shape you can work out how much resin mix you will need to cover your work to measure more precisely with our online resin calculator.

Mixing your resin and hardener:
Once the resin and hardener are in the same mixing container then you can follow this guidance to ensure your mixture is mixed enough to start the chemical reaction that will ensure your resin mixture cures (hardens).
If you don’t mix the resin and hardener enough, it can leave sticky uncured areas on your artwork, so following this step is very important.
You need to mix your resin and hardener slowly, in a controlled manner for between 3-5 minutes. Make sure you set a timer for this so you don’t mix below 3 minutes. Over time you will find the sweet spot for the amount of time that’s perfect for you to mix your resin between these timings.
If you mix your resin fast and uncontrolled, you can create lots of trapped air in the resin and bubbles will form.
Craft Resin kits come with a resin stirrer which can be used at this stage. It’s also easy to clean and reusable.
Make sure when you are mixing that you scrape the sides and bottom of the mixing jug so that all of the resin and hardener is mixed together as much as it can be.
Onto pouring:
Once your timer goes off and your resin and hardener is mixed together, you can then pour the resin mix over your artwork.
Depending on the size of your piece you can either pour it on in an S shape over your work, or pour it into the middle and watch it spread out.
Craft Resin does self level and spread out over your work, it might need a hand to do this evenly, simply use your stirrer or your gloved hands to help spread it out gently, then leave it alone to see where it rests.
Pay special attention to the edges if you are spreading it over these, it might need extra help doing this. And don’t worry if drips start to form below the edges, these can be removed once the project has cured.
Once it has rested and spread out over your project leave it a short while and then check for any surface bubbles that may appear. If they do start to show, then simply use a heat torch in sweeping movements over your work to disperse them and watch them pop before your eyes.
Make sure you don't over torch by leaving the torch on one spot for too long, or by having the heat torch too close to your work. Over torching will cause a ripple effect.
Leaving to cure:
Once you have poured your resin mix over your artwork and removed any surface bubbles, it's time to step away and leave your work alone. This can be very tough, as the temptation to keep touching it to check its cured yet is so real! But please don't, you don't want fingerprints all over your work.
You can cover your work if you would like to ensure it is kept clean and dust free. But leave it to sit in the room with the temperature between 21-24C or 70-75F for the next 24 hours.
Please do not move your work during the first 12 hours at least. Moving your work could also cause an uneven and rippled surface to your artwork.
In 24 hours time your artwork should be hard to the touch and you should be able to hang your work, or start to remove any drips that have formed below the edges.

Please don’t wrap or ship your work for the next 72 hours, some resin artists like to wait longer just to be sure. If you’re selling your epoxy resin coated artwork, you can set your customers expectations on the timings they will receive their resin artwork by factoring this extra time into your estimated shipping date.
As an extra touch you can also include after care advice for when their artwork arrives. For example:
Keep your resin artwork away from extreme heat and out of direct sunlight to increase its longevity.
To clean your epoxy resin artwork, simply use a damp microfibre cloth to wipe it down. Cleaning creams and sprays may contain chemicals which can degrade the resin over time.
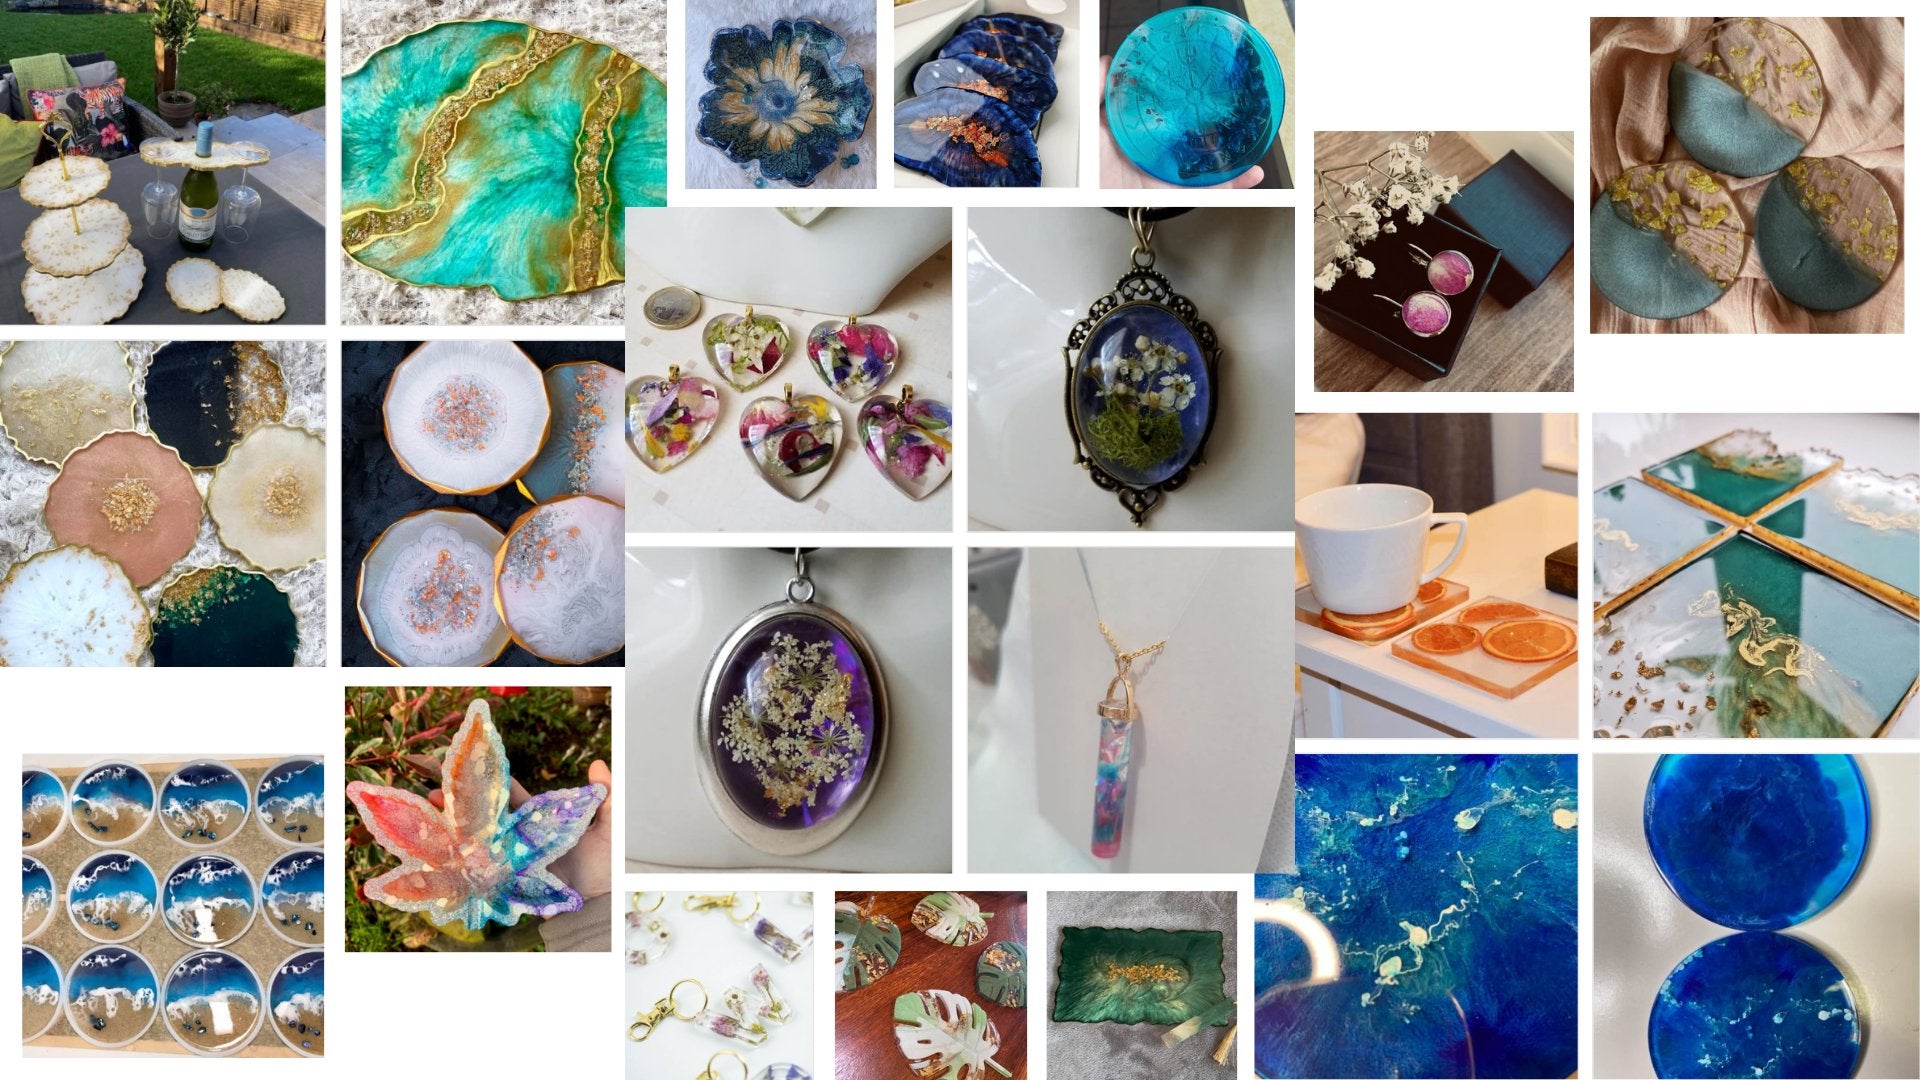
We'd love to see the end result of your artwork, if you'd like to tag us into any work you create using Craft Resin on Instagram we'll get to see it and even share it if you'd like us to:
Have a great time creating!
Team Craft Resin
