Epoxy resin and woodworking have been increasingly fashionable in recent years because of the former's adaptability and the latter's aesthetic appeal.

Creating something beautiful from a wood and epoxy resin kit may be an enjoyable and inspiring hobby. To help you get going, here is a detailed tutorial:
Materials you will need:
- Wood of your choice
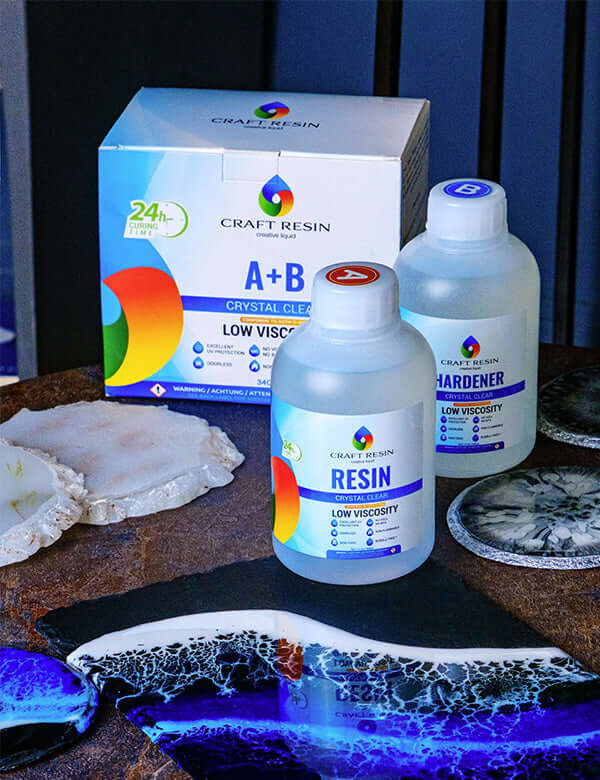
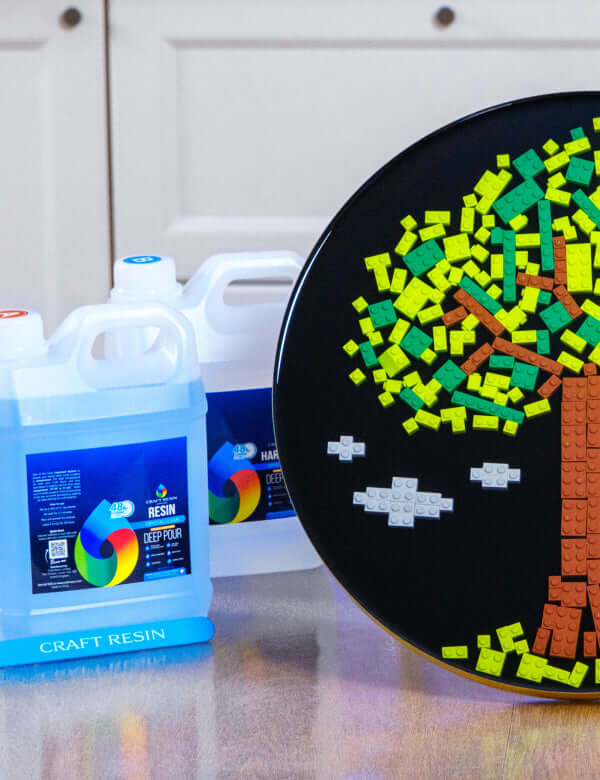
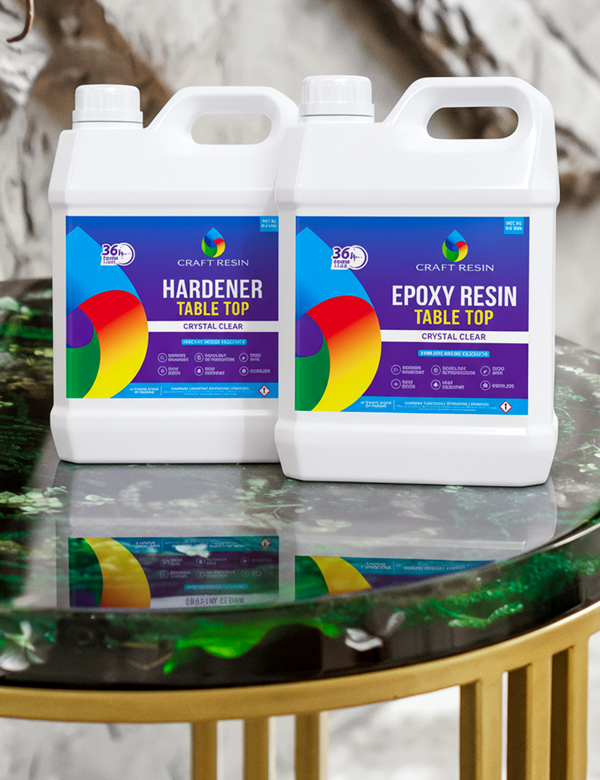
- Craft Resin Epoxy Resin (Deep Pour for larger projects)
- Mixing cups and stir sticks
- Sandpaper (80-120 grit for wood preparation, higher grits for finishing)
- Plastic sheeting to protect your work area
- Adhesive tape or ready-made molds (if needed)
- Leveling aids (wooden blocks or similar)
- Optional: paint primer, wood treatment (if required)
First Step: Choosing and Preparing the Pieces of Wood
1. Determine the species of wood that you wish to use for your project. The flattest piece of live wood is the best wood to use with epoxy resin. Woods like yew, elm, oak, or black walnut look particularly wonderful when used with epoxy resin. Although you can use most woods alongside epoxy glue, the flattest piece of live wood you can find is the best. If you need clarification about how the epoxy resin will interact with the look of the wood, practice on scraps of wood that have been chopped off.
2. Determine the level of moisture present in the wood and ensure it is lower than 12% to prevent problems with the resin.
3. If you need to alter the form of the wood, use a saw. Then, using sandpaper with a grit of 80 to 120, smooth the wood so that the epoxy glue may adhere to it. After sanding, sweep up the debris. If you wipe away the sanding dust with a damp cloth, let it dry completely before applying the resin mixture.

Second Step-: Prepare your workspace
1. First, use plastic sheeting to shield your floor and workspace from potential spillage.
2. Keep your workstation and drying area between 21 and 24 degrees Celsius (70 and 75 degrees Fahrenheit) for the first 24 hours (48 hours if you use our Deep Pour resin).
3. Third, keep your work area as dust- and dirt-free as possible so it won't end up in the resin.
4. Fourth, check the ventilation and put on the proper personal protective equipment. Put on some gloves, a plastic apron, and pull back your hair if it's long. Goggles or safety glasses might be useful while working with wood. Please use a respirator if you are unsure whether or not the area you are in is adequately ventilated or if you cannot maintain comfortable temperatures while maintaining enough ventilation.
Here you may learn the measures you must take to ensure your safety when working with Craft Resin.

Third Step-: If necessary, molds must be made
- First, you'll need a mold to keep the epoxy resin contained while it dries if your project has any open spaces or edges. Because the epoxy resin is a liquid, it will run off the edges if you don't keep it contained.
- Make the appropriate barriers by wrapping the surface you wish to cover with high-quality adhesive tape or using pre-made molds. Although the initial investment may only be justified if you plan on doing numerous projects of the same size, you can get ready-made molds from sources like @makersreusablemold for casting wood resin projects.
- Use wooden blocks or anything similar to level the surface before pouring the resin. Use a spirit level to make sure it's even.

Fourth Step-: Mixing the Epoxy Resin and Pouring it
1. Mix the epoxy resin gallon kit and the hardener in the appropriate amounts according to the directions included with your resin kits. When working with our Deep Pour resin, you must measure it differently than our regular resin. Other manufacturers may use entirely different measurement methods, so it's important to carefully verify the instructions that come with the resin you buy.
2. Please stir it well to ensure the ingredients are evenly distributed. You may need to stir the mixture for longer than three minutes. A good rule of thumb is to stir the resin and hardener until no lines or streaks are left in the mixture. After this, you can add colorant if you want the mixture to be colored. Please ensure that you stir the resin mixture slowly and carefully to produce the fewest air bubbles possible and that you scrape the edges, sides, and bottom of the container in which you are mixing while you do so.
3. Third, pour the epoxy resin into the molds or directly onto the wood, depending on how your project is set up. Fill holes by pouring the resin straight into them.
4. Finish one layer of a multi-tier job before starting the next. Layered Craft Resin creations require special care and attention. In certain cases, such as when using Craft Resin's Deep Pour resin, stacking is unnecessary since the exothermic reaction in this product does not raise the temperature to a level that may cause flash curing.

Fifth Step-: Curing and Finishing up
- Give the resin the necessary amount of time to harden, typically 24 hours for our standard resin and 48 hours for our Deep pour resin (although this varies depending on the job). The amount of time needed for curing might change based on the temperature as well as the thickness of the project.
- Once the material has cured, carefully remove it from the mold. Sandpaper can be used to even out the surface and smooth it out if any extra resin or rough edges are present.
- When working on projects that will be used with food, use the proper wood treatments after an independent study. After it has been allowed to dry fully, Craft Resin can be used on food contact surfaces without further treatments. Please view the recommendations on food safety here.

It is important to remember that you should always perform more research and follow the directions supplied by the brand of epoxy resin you are using. Get some experience by working on simpler tasks before moving on to more challenging endeavors. Working with wood and epoxy resin may be a type of art that demands patience and experimentation to obtain the desired results.
Topic Of The Week Giveaway:
We have attached a giveaway to this Topic Of The Week announcement on our Instagram platform; this is helping us to spread the knowledge of how to use epoxy resin further, but also enabling anyone who helps us to share this information to win free resin and mica powders.

To enter the weekly giveaway, please see the latest post pinned to the top of our Instagram feed and follow the instructions to enter:
Team Craft Resin


