


The Ultimate UV Lamp Guide: Watts, Wavelengths, and the Best Cure for Your Resin
If you’ve ever cured UV resin under a “high power” lamp and still ended up with a sticky surface, soft center, or cloudy finish — you’re not alone. Most UV curing problems don’t come from “bad resin” or “bad technique.” They come from one myth:
More watts = better cure.
In real life, wattage is only a small piece of the puzzle. What actually cures resin is the right wavelength hitting your resin at enough irradiance (mW/cm²) for long enough time (total dose), with the right geometry (distance, coverage, reflectivity).
This guide explains the science in plain maker language — and then turns it into practical buying and curing rules you can actually use.
Watts vs Irradiance (mW/cm²): Why “80W” Doesn’t Guarantee a Cure
Watts (W) tell you how much electrical power a device uses. They do not tell you how much UV energy actually hits your resin.
What you want is irradiance: the UV intensity at the resin surface, typically measured in mW/cm².
And if you want to get nerdy (in a useful way), curing is driven by dose:
UV Dose (mJ/cm²) = UV Intensity (mW/cm²) × Time (seconds)
Why cheap “high wattage” lamps disappoint

Many low-cost lamps inflate wattage numbers or use inefficient LED layouts. You’ll see huge watt claims, but the actual irradiance at the work surface can still be low — especially if the LED beads are few, poorly aimed, or far from the resin.
So instead of chasing “the biggest watt number,” evaluate a lamp like a tool:
- Is the wavelength compatible with your resin?
- Is the light evenly distributed?
- Can it deliver enough intensity where your resin actually sits?
Wavelengths Explained: 365 vs 395 vs 405 nm (and What Your Resin Wants)

UV resin cures because it contains photoinitiators — chemicals that absorb UV-A light and trigger polymerization. Photoinitiators have absorption bands, so wavelength match matters.
Craft Resin UV Resin is designed to cure under UV light in the 365–405 nm range.
Here’s how to think about the common wavelengths:
365 nm — deeper cure potential (often stronger “activation”)
- Many photoinitiators absorb strongly in the UV-A region around 365 nm.
- Often preferred when you need better penetration through slightly thicker or more “blocked” layers.
395 nm — practical, common, solid general-purpose
- Very common in curing stations and craft setups.
- Good balance for many UV resins, especially thin-to-medium layers.
405 nm — popular for thin layers and some specialty formulations
- Common in 3D printing resin ecosystems.
- Can work great for thin layers, but thick or opaque pours may need longer curing or cycling depending on the resin chemistry.
Rule of thumb: If your resin says 365–405 nm, a lamp that actually emits in that range — and delivers enough intensity — is the right direction.
Dose, Distance, and Thickness: Why Cure Time Is Never One Number
If you’ve ever thought, “It says 60 seconds on the bottle — why is mine still sticky?” this is why.
Distance (yes, it’s that important)
Light spreads out as it travels. As distance increases, irradiance drops sharply — commonly described by the inverse square law (the exact behavior depends on optics, but the direction is always the same: farther = weaker).
Practical takeaway: Keep your resin close to the LEDs (without overheating it), and use a consistent distance every time.
Thickness
UV resin cures best in thin layers. The thicker the resin, the harder it is for light to penetrate evenly.
Craft Resin’s UV resin guidance reflects this reality: it cures quickly for small projects, while thicker layers may require longer exposure.
Opacity: pigments, mica, glitter, and “why my black resin won’t cure”
Pigments and inclusions block UV. That doesn’t mean you can’t use them — it means you must adjust your process:
- thinner layers
- longer cure time
- cure both sides when possible
- multiple cycles instead of one long blast
Craft Resin even calls out a sensible range: keep inclusions and additives within about 5–10% by volume.
LED Lamp Design: What Actually Makes a UV Lamp “Good”

When makers say “this lamp cures better,” they’re usually talking about one (or more) of these:
1) LED bead count and layout (coverage)
Even coverage prevents dead zones — especially at the edges of molds.
2) Wavelength range that matches the resin
If your resin wants 365–405 nm, you want a lamp that truly emits there.
3) Reflective interior (more even curing)
A reflective chamber helps bounce UV around and reduces shadowing — which is a big deal for domed pieces, bezels, and multi-part shapes.
4) Consistent power delivery
Some ultra-cheap lamps sag in output over time, or don’t deliver stable intensity. When that happens, curing becomes unpredictable.
The Easy Pick: A UV Resin Setup That’s Already Matched
If your goal is simple — fast, consistent cures for jewelry, charms, small molds, and coatings — the quickest way to reduce variables is to use a resin and lamp designed to work together.
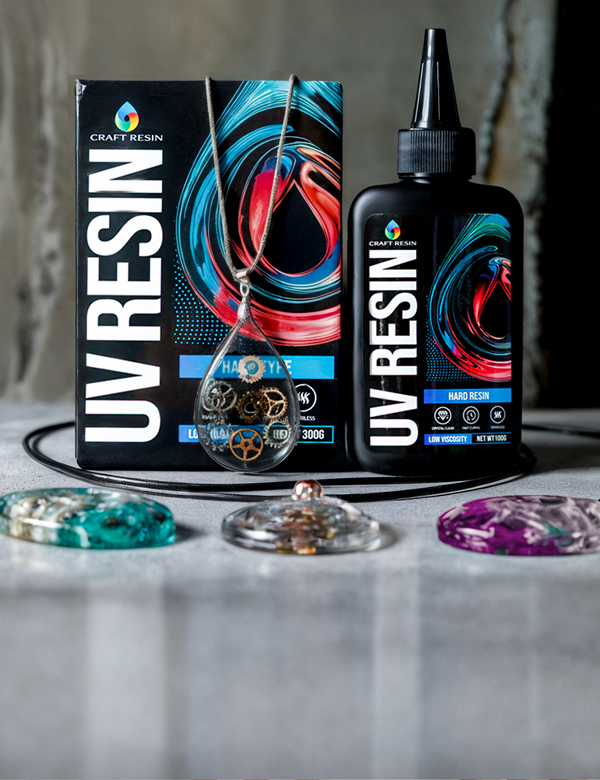
Craft Resin UV Resin Kit with Lamp 36W — what you get (and why it matters)

This kit is built as a complete curing workflow:
- 36W UV lamp with 22 LED beads (designed for small projects and even coverage)
- USB-powered curing station (convenient, easy to set up anywhere)
- 2 × 100g bottles of crystal-clear UV resin — no mixing required
Resin specs that matter for makers:
- Low viscosity: 2000 cps (flows into detail without trapping as much air)
- Hard type: Shore 85D and <2% shrinkage
- Cures in 1–3 minutes for small projects under the included lamp
- Curing method: UV light 365–405 nm
- OSHA & ASTM D-4236 referenced for product compliance context
- Tools included: silicone mat, cups, sticks, gloves — so beginners don’t derail a cure with a messy setup.
Why this matters: the kit removes the most common compatibility mistakes — wrong wavelength, underpowered lamp, uneven curing layout — and gives you a predictable baseline.
How to Cure UV Resin Like a Pro (Without Overheating or Warping)

Here’s the workflow I use when I want consistent results:
-
Work in thin layers
If you need depth, build it up. -
Keep distance consistent
Closer is generally stronger; farther is weaker. Don’t change distance mid-project unless you’re troubleshooting. -
Use multiple cure cycles for thicker pours
Cure, let it cool briefly, then cure again. This helps reduce heat buildup and improves through-cure. -
Cure from multiple angles when needed
Flip pieces and cure the back. Rotate domed pieces if the shape creates shadows. -
If you’re using pigments or heavy inclusions, slow down on purpose
Thin layers and longer exposure beat one thick pour every time.
Troubleshooting: Sticky Resin, Soft Centers, Warping, Yellowing
“My UV resin is still sticky after curing”
Most common causes:
- Oxygen inhibition — the surface can feel tacky because oxygen interferes with free-radical curing at the air interface.
- Underexposure — not enough dose (intensity × time).
- Wrong wavelength — lamp doesn’t match the resin’s initiator system.
- Too much pigment / opacity — UV can’t penetrate.
Fixes that actually work:
- Cure longer and/or closer (without overheating).
- Cure both sides.
- Reduce pigment load and use thinner layers.
- If the surface is inhibited, a final longer cure and/or a clear topcoat layer can help (depending on project).
“Hard on top, soft inside”
That’s classic under-cure through the thickness. Go thinner, cure in layers, and use cycles.
“Warping or overheating”
Too much energy too fast can overheat thin plastic molds or distort pieces. Use shorter cycles and allow cooling.
“Yellowing”
Heat and overexposure can contribute — but resin formulation matters too. Work cooler, cure in cycles, and avoid blasting thick puddles.
FAQ
Does higher wattage cure UV resin faster?
Not automatically. Watts don’t guarantee irradiance at the resin surface. Dose and wavelength match are what cure resin reliably.
What wavelength is best — 365, 395, or 405 nm?
It depends on your resin’s photoinitiators. Many craft UV resins are designed for the 365–405 nm range.
Why is my piece sticky after curing?
Often oxygen inhibition or under-cure (not enough dose, too far from the lamp, too much pigment, or wrong wavelength).
Can I use a nail lamp to cure UV resin?
Many people do, as long as the wavelength and intensity are compatible. The safest path is a lamp designed for resin projects and verified curing ranges.
How long should I cure UV resin?
For Craft Resin UV resin, small projects typically cure in 1–3 minutes under UV light in the 365–405 nm range; thicker layers may need longer.