


The reason this guide is called how to create a basic epoxy resin coaster is because we will be covering the very basics of creating coasters. There are so many different techniques, molds, colours etc that you can create with epoxy resin coasters. If there are any specific designs or styles that you’ve seen that you’d like to recreate after getting the basics right, then you can search for the techniques online and watch how other artists create the effects you love.
We do have a few courses on our Craft Resin Academy that create different coaster effects, take a look at these and see if they show you how to create your desired effects.

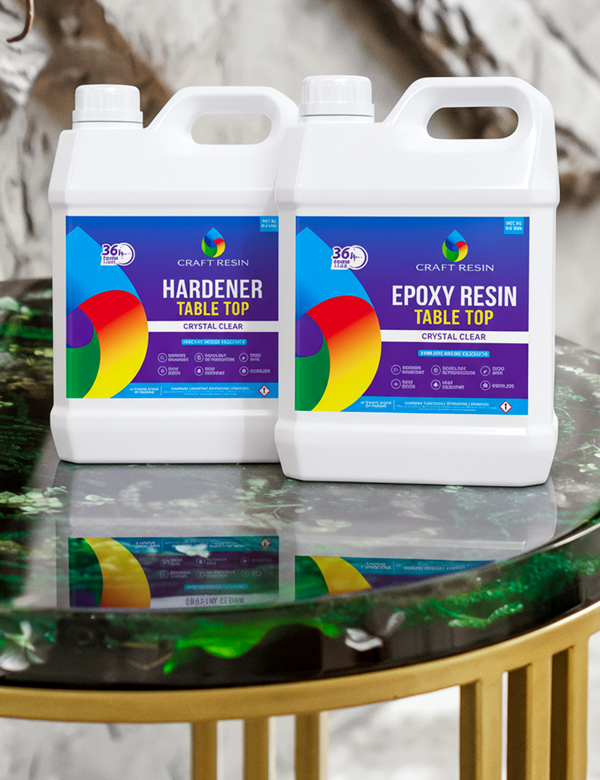
First of all you’ll need some more equipment to create your coasters along with your Craft Resin kit:
Safety equipment.
Cleaning/protective equipment.
Measuring and mixing jugs.
Coaster molds (size and style of your choice).
Colours.
Read our equipment list blog for more information.
Before you begin:
Once you have your kit to hand, you can place it all in reach, in your working area so that once your resin is mixed you have it to hand to work with fast before the epoxy resin cures.
You’ll need to make sure that your workspace is covered in case of spillages and have a cleaning kit nearby, just in case.
Lay out your kit on your work area, you will have about 45 minutes to work with Craft Resin before it cures, so once you have mixed it you will need to start pouring straight away. You need to have your molds placed infant of you already to pour the resin in.
Make sure your workspace is clean of any dust, dirt or animal/human hairs. Any dirt that gets into your project may not be able to be removed after it has cured so it’s best to clean the area in advance. And if possible work in a separate room to anyone who may need to pass by.
Prior to starting you’ll also need to make sure that your room is at the right temperature, it needs to be between 21-24C or 70-75F in order for your resin mix to cure properly and for any imperfections to not appear.
You need to be able to keep your room, or covered resin coasters at this temperature for the next 24 hours. If you do cover your work, make sure you have the cover close so you can apply this over your coasters after they are poured.
Once everything is set up and nearby, you can put on your safety equipment. If you cannot work in a well ventilated area then you will need a respirator, and you’ll need protective gloves and a plastic apron too. These will all ensure that you are as protected as can be when working with our resin.
Make sure the molds are placed on a flat level surface, Craft Resin is self levelling and will spread into the direction that a table is tilting. If the table your mold is resting on is flat and level, then so will your coaster be.

Once you begin:
To avoid micro bubbles forming and you’re resin mixture being too tricky to work with, we do advise that you warm the resin in a sink filled with warm water for 10-15 minutes before use. Please make sure the bottles are the original resin bottles, that the lids are closed, and the water doesn’t come above the top of the bottles label.
You’ll need to measure, mix and pour your resin/hardener in just the right way in order for your project to go perfectly.
Make sure you follow the brands guidelines of the resin brand you are using, every brand needs slightly different techniques, these apply to Craft Resin.
Measure your resin and hardener in equal VOLUME. For example 150ml of resin, 150ml of hardener.
Please DO NOT weigh Craft Resin’s resin and hardener, the hardener is more dense and weighs more so it will throw the delicate balance needed for the resin mixture to cure.
If you use silicone measuring jugs to measure, then these are very easy to clean after use. Resin also doesn’t stick to silicone and so you can use these over and over again, reducing waste.

Once your resin and hardener are measured you can then move onto the mixing stage. If there is space in one of your measuring jugs, you can simply pour the other part in with this and use this container to mix the resin in.
If you’re adding in any colours, like our Mica Powders, to your coasters this is where you can add a tiny amount of this to your mix too, but please don’t exceed 6% of your overall content in colour.
You will need to set a timer so that you make sure you mix for at least 3 minutes, although we would recommend going beyond this, between 3-5 minutes is usually plenty of time.
Mix in circular, slow movements, ensuring that you scrape the bottoms and sides of the mixing jug as you go. Slower movements will ensure less bubbles form, faster movements will increase bubbles in your work. Although don’t worry too much if bubbles do appear, as they can be torched out after pouring.
Once the timer goes off and you have mixed for longer than 3 minutes, you can then pour the mixture into your molds.
Our resin is low viscosity and so is quite runny, you might want to go slow for this part. You can always pour more into your mold, but you can’t take it out. If it does go over the edges slightly don’t worry about this, you can sand down any drips and sharp edges after its fully cured.
This is a very basic coaster, so it’s won’t have lots of different colours and patterns in it, like we said at the start if you’d like to experiment with pattern and colour techniques you’ll need to research this further.
Once you have filled your mold up with the resin take a step back from your work. Place the mixing jug down (if this is made of silicone you can leave this to cure and then remove it later when it’s hardened).
You can wipe off any liquid resin mix from your stirrer at this point and wait a few minutes. Some surface bubbles may appear on top of your work. If they do you can use a heat torch, kept far enough away from your work, using sweeping movements over your project. This should disperse the bubbles. This might need repeating a few times over the next 3-4 hours to stop all bubbles appearing.
You can cover your project to keep it dust and dirt free and leave it in a room with a stable temperature between 21-24C or 70-75F for the next 24 hours to cure.
Please do not touch, fiddle or move the coasters before the 24 hour period, as you can cause unwanted effects in your work by doing so.

Once the 24 hours is over, you will then be able to gently remove your coaster from the mold. If the mold is new this should be quite easy to do, it can get tougher to remove the longer you have had the mold and more use it has.
Once removed from the mold place the coaster back on a flat surface and wait another 12 hours, just to ensure it has cured enough to start working on the finishing touches.
If you’d like to read how to apply finishing touches to your mold please visit our other blog on this subject.
As coasters can be used to place hot mugs on, we would advice that if they are being used for warm drinks, that these are not placed on the coasters for another 21 days, in order for the resin to have cured enough for it’s heat resistance to build up.
If you are going to place cold drinks on your coaster, or package it to be sent out to a customer, then please allow 72 hours for the coaster to be cured enough to be packaged.
If packaging coasters together please place a layer of tissue paper between each one to stop them sticking to each other during transit.
If you’d like to tag us to show us your resin coaster creations please visit Instagram and tag @craft.resin in your story or post so that we can see what you have created after reading this blog.
Happy creating!
Team Craft Resin
