


The best advice we can start out with in regards to small imperfections getting into your resin project is to try to keep your work area as clean and tidy as possible.
Tie hair back when working with resin and don’t work in a room where animals are free to roam, pet hair is the worst for floating around and getting into your work.
Give your room a good dust and polish before creating in it, try to minimise clutter that can collect dust and dirt. And try to work in an area where people don’t need to walk through.
Prevention of imperfections in the first place is so much better than trying to correct them once they have got into your work, and especially when your resin has cured.

Saying that, don’t panic if you do notice a small imperfection, these can be removed:
If you do notice a tiny imperfection in your work, maybe you missed a bubble and now there is a small dent where the bubble has been, or you notice a small pet hair poking out of your project, it’s best to sand down your entire project, or the surface area where the imperfection is and around it, but don’t try to sand only a tiny area around the imperfection, it’s so difficult to do this, you’re better off sanding down completely and applying another layer of resin as a top coat to create a beautiful finish.
When you have a bubble dent, or a dip where an imperfection has been, adding another self levelling layer of resin mix to the top of it will fill in this gap and you won’t even notice it was there to begin with.
When sanding down your resin project, please disregard the look of the piece as you do this, it will look cloudy, dusty and will have scratches on it, but these won’t show later on.
You’ll want to use a sandpaper of between 80-120 grit for the job. It will enable you to remove the imperfection but will also act as a grip for the second layer of resin to latch onto when you pour it over the top of the sanded area.
Before you apply the next coat of resin, make sure you wipe away and sanded grit and dust. If you use a slightly damp cloth to do this, please make sure the resin is completely dry before adding on the second layer of resin.
After you pour over the next layer of resin, you’ll want to ensure nothing gets into your project again, so please do cover with a box or Tupperware container, to keep out any more imperfections.
If the imperfection was created by a bubble, then check more regularly to ensure you remove any surface bubbles that do appear on your second coat, or this could happen again.

Uneven coat issues:
First of all you need to ensure it doesn’t happen again, so make sure the surface that you are placing your mold onto is level, and that you don’t move your project once you have poured the resin.
Once the first uneven layer of resin mix has cured you can then sand down this layer using the guidance on sanding above, and then pour on another layer of resin mix to your project. This will again self level into any uneven gaps and if on a level surface will level out to cover your project evenly.

Those pesky sticky areas:
We think every resin artist has probably had sticky areas in their creations at some point during their resin journeys, they can be quite common, but are easy to avoid and fix.
During the curing process your resin should get harder and harder, leaving your final project with a pretty strong and hardened feel to it. But if you notice that an area of your resin isn’t curing and is staying sticky then this means that one of two things have happened and you need to tweak your technique next time you measure and mix.
1 - The resin and hardener wasn’t mixed well enough.
Or
2 - The 1:1 volume of resin and hardener was wrong.
1 - The resin and hardener needs to be mixed together for a minimum of 3 minutes, it can be longer, and please do experiment with your own timings between 3-5 minutes to find the exact time that works for you. Please make sure you use a timer for this, if you try to guess, most of the time you will be stirring for too little an amount of time.
Make sure you mix slowly and controlled to avoid too many bubbles, but that you are mixing and scraping the sides and bottom of the mixing jug while you go.
Even when the sides and bottom have been mixed as above, please do not then scrape the sides and the bottom of the mixing jug when pouring the resin mix into your molds. The resin mix at the sides and bottom of the mixing jug, still might not have had the full 3 minutes of mixing time, and unmixed resin could get into your work, causing sticky areas in your project.
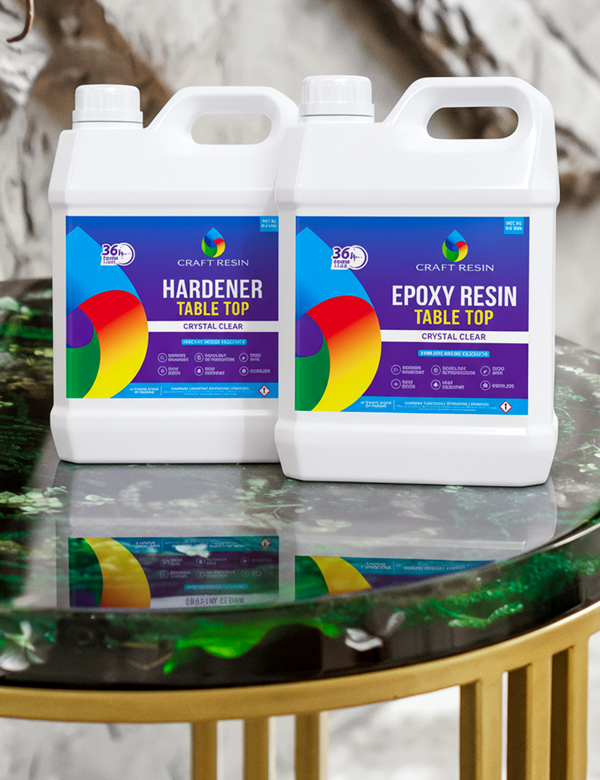
2 - When we get contacted regarding resin not curing properly, the majority of the time it’s because people have measured our resin and hardener incorrectly. They need to be measured in equal volume NOT by weight.
Step away from the scales!
The hardener weighs more than the resin and so when measuring by weight you will get an incorrect balance of resin and hardener which will mean that sticky areas can occur, these are usually larger areas of your work than if the resin and hardener simply aren’t mixed for a long enough time.
To measure get two measuring containers of the same make, with markers on the sides, fill the resin and hardener to the same levels, then place side by side to check before pouring together. You can scrape the sides and bottom to get every drop out at this stage, because they are not already mixed, not chemical reaction is yet taking place.
To fix a sticky area, simply scrape off the sticky part with a stirring stick, and then pour another coast of resin to the top of this. Again this will self level into the gap and leave an even surface over your project.
Why is my resin going a misty/milky colour and how can I stop this happening:
If your resin mix turns a misty/milky looking appearance to it then it means that you are having temperature issues and it is too cold. Resin loves warm temperatures and you need your work area and resin/hardener to be warm for your project to work really well.
The ideal temperature to work with and have your resin/hardener is between 21-24C or 70-75F. Between these temperatures your resin will be a joy to work with, it will flow really well and won’t have a misty look to it, it will be perfectly clear.
The misty/milky look is due to lots of tiny micro-bubbles that form in cold resin. These cannot be removed once your work has cured, so you need to adjust the temperature before you begin.
You can warm your resin/hardener bottles in a warm sink of water for about 10-15 minutes before you then measure them out. Make sure the lids are kept on the bottles fully secured, make sure the water doesn’t go above the Craft Resin label, and dry the bottles off before opening and measuring.
Any moisture that gets into your resin will affect your project in other ways. The last thing you want is to do something that alleviates one issue, but causes another.

The guidelines we publish work for our brands resin, Craft Resin, other brands information may vary so please do contact them directly to check their best practises when using other brands resin products.
Team Craft Resin
