


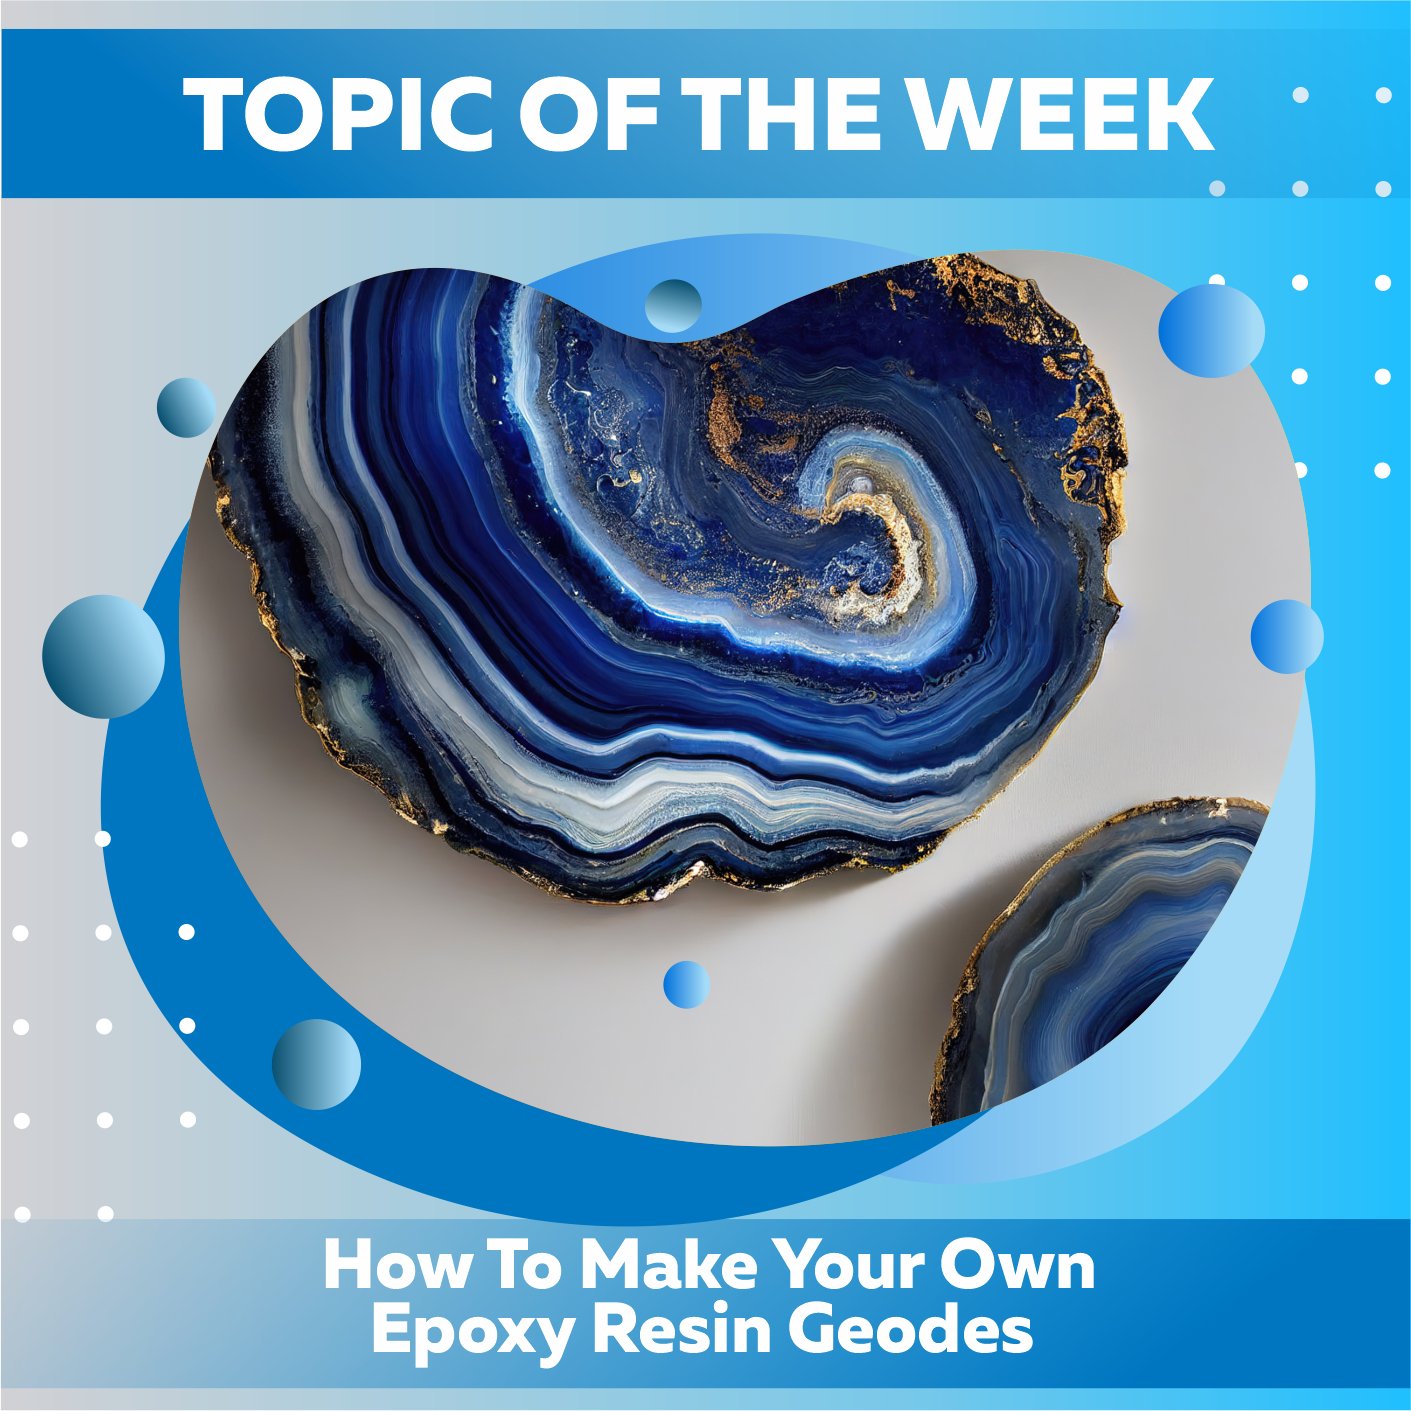
Those just getting started with resin may not be familiar with the term "resin geode," but for those ready to go on to more complex crafts, these might be the next logical step.
This week on the blog, we'll explain what a resin geode is and how you may make your stunning geode works of art.

To begin, let's define resin geodes.
Resin geodes are man-made works of art inspired by the beautiful geode rocks found in nature. Amazing works of art with a three-dimensional quality may be created in a resin geode. They have a wide range of possible hues, forms, and proportions.
So, to illustrate:

How does one set about creating one of these amazing works of art? Because they appear complex but might be rather straightforward, allow us to elaborate.
1 - Get your working environment and your tools ready:
Before beginning any project using resin, you will want to ensure that your workspace is organized and that you have everything you need for the job within easy reach. After the resin and the hardener have been combined, you have anywhere between forty and fifty minutes to work with the mixture before it can no longer be poured onto your project.
Now is the moment to ensure sufficient ventilation in your working environment or, if the temperature prevents you from doing so, that you are at least wearing protective gear such as a mask, gloves, and a headband or scarf to keep long hair back. For your work to cure properly and not create any problems, the workplace temperature has to be between 21 and 24 degrees Celsius, which is around 70 and 75 degrees Fahrenheit. Only undertakings that include resin and have a temperature lower than this will be able to complete successfully.
You will want to ensure that your work area is covered in plastic sheeting to prevent the liquid resin from getting on any carpeting, table tops, or other surfaces. Protect the area surrounding your project because resin does flow freely and can easily leak out of its container.
2 - Establish and fortify a home base:
Resin geodes require a base, and while geodes may be made in molds, doing so can be challenging at first. MDF wood makes an excellent basis, but it must be prepared before resin is applied.
You should trim it into the form you want for your finished design. While most natural geodes are round or oval, artists can simulate this shape by beginning with a square foundation and then adding curved lines and other components to produce a geode-like sculpture. The final form is completely up to your imagination or the needs of your consumers.
After trimming the MDF to size, consider priming the top of the frame. Since MDF is porous, the resin won't settle properly, preventing you from achieving a smooth surface. Emulsion paint or Mod Podge should be applied to the MDF and let to dry completely before going on.
After waiting for things to dry, you may flip the base over and frog-tape the borders. Unless you've made a dam, the resin will run off the edges of your product and pool underneath it if you don't catch it right away. These drips will be less hassle if you tape your foundation below.
3 - Color the resin.
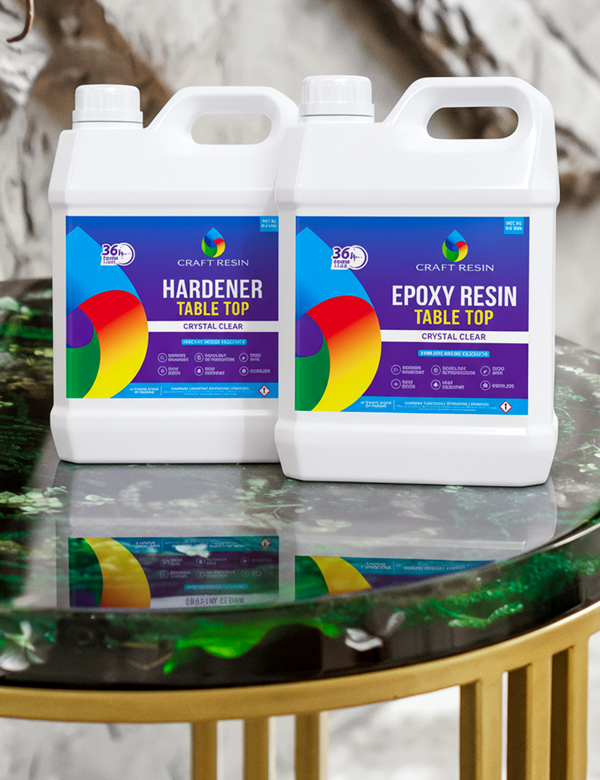
After preparing the base, begin your resin coloring. Typically, geodes will have complementary colors, such as many green hues poured on at separate times. So, look at your packets and pick out two or three colors that appeal to you. Mica powders, which you can get in Craft Resin, are a terrific option for adding subtle color to your resin. Mica powder contains many different colors, allowing you to make stunning geodes.
Mix the crystal clear epoxy resin and hardener for four minutes before adding a pinch of the desired Mica Powder color for each of the three colors.
You may pour the colored resin over the foundation once you blend the colors. Begin with a single color, making what seem like lines as they move over your work. You're not going for straight lines; instead, you want the lines to shift and the colors to merge ever-so-slightly as the resin spreads.
After you've poured one color randomly, leaving room for others, you may do the same with the following color. Until your geode is encased in a kaleidoscope of beautiful hues and mixed forms, allow this to cure for a short time or longer if you're not planning on adding crystals. You may apply additional resin as you go if you feel it's necessary, or you can stop there if it looks OK.

4 - Adding Crystals
After pouring the resin, you need to place the crystals carefully in the areas of the geode where you believe they would look best. You can arrange crystal clusters in a couple of the corners or have them protruding from one of the lines running through your work.
Like any other aspect of working with resin, the placement of crystals is entirely up to personal preference and the effect you're going for. You can test this out on a smaller scale first or sketch up a rough layout to determine the optimal placement of these elements in your larger project.
When the resin hardens, it will hold the crystals in place, so it's important to tuck as many of them as possible within. Some painters may submerge and cover the crystals with resin, while others may leave them protruding. Some people even go so far as to use a transparent resin as a final layer.
Rose quartz complements pink or neutral resin tones, while sapphire may work better with green and turquoise resin colors; using actual crystals might be pricey. Make your crystals out of resin and include them in your geode creations if the cost of actual crystals is prohibitive, especially for preliminary experiments.
5 - Including geode lines in the design:
After you have poured your resin and added your crystals (or fake crystals), it is time to add some lines. Geodes are characterized by lines that cut through them and, once more, follow the natural contours of the geode. You can add lines by using resin in which you have combined gold mica powder; if you use a syringe, you can produce thinner lines. Alternatively, you may use a marker pen in gold to draw lines. There are no limits to the colors that you may use, so you are free to use gold, silver, or any other color that will complement the thing that you are making. You may add gold or silver leaf at this stage, play with colors and other touches like these, look at the work of other artists who build geodes to obtain inspiration and ideas, and most importantly, have fun with it.

6 - The Final Touches
After the product has dried completely, you can finally put the finishing touches on it. Depending on the number of resin layers used, etc., drying time may exceed 24 hours, so if you need more time, it's best to wait at least a week.
After the resin has dried, flip the object over and use a heat torch to gradually soften the drips of resin so that you may remove the tape without damaging the glue. Wear gloves, avoid holding the heat torch directly on the drips for too long, work in small increments, and remove the tape carefully; the drips can get hot.
Sanding down lingering drips may make the back perfectly smooth and provide a polished look to your finished product. It's important to wait until the glue drips have dried before sanding.
Then, you may hang your finished piece from the wall using the appropriate mounting hardware unless your geode project is free-standing.
We hope this article about how easy it is to make resin geodes was interesting and helpful to you. They may be a fun addition to your resin shop or something you do for fun and then show off in your house.
If you want to expand your resin company, learn how to produce resin geodes. Also, learning to perfect the technique of making them may fetch high rates and the time it takes artisans to build these creations.
Some resin geode artists we've spoken with have won commissions to produce geode artworks for hotels and other companies as stunning wall decorations. Adding geodes to your resin creations may lead to unexpected opportunities.
Topic Of The Week Giveaway:
We have attached a giveaway to this Topic Of The Week announcement on our Instagram platform. This is helping us further spread the knowledge of how to use epoxy resin. However, also enables anyone who helps us to share this information to win free best resin starter kits and mica powders.

To enter the weekly giveaway, please see the latest post pinned to the top of our Instagram feed and follow the instructions to enter:
Team Craft Resin

