


Even while the temperature where you are working probably isn't as frigid as the one in the photo, it's still crucial to keep an eye on it throughout the curing process and when working with our brand's resin.
Epoxy resin kit from our brand performs best at temperatures between 21C and 24C (70F and 75F). We don't want you to have any problems with your resin creations, so please don't let the temperature drop below these.

When the temperature begins to drop, you could begin to notice problems such as the following:
- Micro-bubbles (resin that has a foggy, misty appearance);
- Ripples;
- Separations;
- Not curing at all or requiring a much longer time to cure
If any of these things occur, you need to check your temperatures as soon as possible. Concerning the temperatures, you need to be keeping an eye on the following:
- The temperature of your workplace
- The temperature of your resin or hardener
- The temperature of your curing area (for the whole of the time that the curing is taking place)
- The temperature of your substrate, base, or mold
Let's take a closer look at them, and then I'll explain why it's crucial to keep an eye on them and get them perfect while working with epoxy resin...
Your workspace temperature:
During the first twenty-four hours of most projects, your working and drying space should be kept at a temperature ranging from 21 to 24 degrees Celsius (70 to 75 degrees Fahrenheit). If the item you're working on takes more than 24 hours to cure, ensure the environment is nice and toasty.
Throughout the curing process, keeping the room at or above these temperatures is of the utmost importance, avoiding any drops below them.
If you can keep a consistent body temperature during the day, but your temperature lowers significantly during the night, this might cause problems. In the case of the resin project, ripples or dimples may indicate that the temperature fell while it was curing.
We know that maintaining a room temperature at a constant level during an entire day may be challenging, but doing so is essential to the success of your resin projects.
When working with resin, ensure the heaters in your workplace are on or put the heating system on overall. There's always the possibility of turning off individual radiators in rooms that need to be utilized. Heating the resin chamber using either a storage or an electric heater is possible.
It's possible that all you'll need is a heating pad and a large Tupperware container to keep the resin at the correct temperature for curing. At the same time, you work on a few other resin-related projects, provided that your workstation is already at an adequate temperature. If the temperature of the surrounding environment is much lower than the heat mat's operational range, this may not be effective.

The temperature of your resin/hardener:
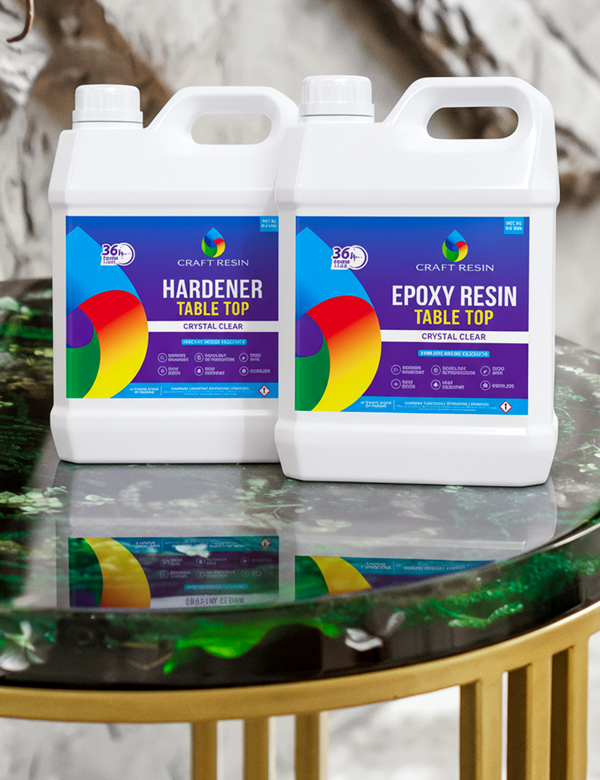
Keep your resin at around 70F (21C).
Craft Resin is fully transparent, fluid, and simple to work with in this range, making pouring a breeze. Microbubbles form when the resin is exposed to cold, giving it a cloudy or muddy appearance.
Clear, glass-like creations need a heated resin mix to avoid air bubbles, which can't be removed after the resin has been poured. Larger surface bubbles could be eliminated using a heat torch.
Resin that has been stored in a cold environment is more challenging to deal with since it is thicker, more difficult to spread out, and typically does not self-level, all of which may lead to problems like a ripple effect on the surface or uneven spots and holes of resin in your work.
To avoid these problems, warm your resin and hardener by setting them next to a heater for a few hours before use or by putting them in a sink of warm water. Any moisture that seeps into your bottles might create problems, so please keep the lids on and fill the sink below the level of the lids if you want to utilize this approach.
The water shouldn't be boiling but rather warm; after filling the bowl, let the beans soak for 10 to 15 minutes. You should play about with the timing and temperature of your soaks to find what works best for you.
After being submerged in water, the bottles must be dried thoroughly with a towel. When you open the caps, water might enter inside the bottles. After this, you can accurately measure and pour your resin.
Your curing area (for the whole time the curing is taking place):
While you're actively working on your project, the temperature in your workspace must be kept between 21 and 24 degrees Celsius (or 70 and 75 degrees Fahrenheit) to ensure proper curing.
Curing issues, such as incomplete curing or the appearance of ripples or dimples, may occur if the temperature falls below this during this period.

What you use as a template, guide, or basis:
Even if you've determined that all temperatures are set to warm, pouring the DIY resin starter kit mixture over a chilly foundation, substrate, or mold might result in thermal shock. Possible negative outcomes include rippling and separation.
Please ensure the molds or artwork have been warmer for at least two hours before pouring the hot resin. A base's temperature can be lower than the surrounding room's, even sitting in a toasty spot. If they may still be too cold to touch even after being in a warm room, you can try using a heating pad or putting them close or on a heater, as long as it is not too hot.
Warmth is important this winter for more than just you; your resin creations will appreciate it, too.
Team Craft Resin

