


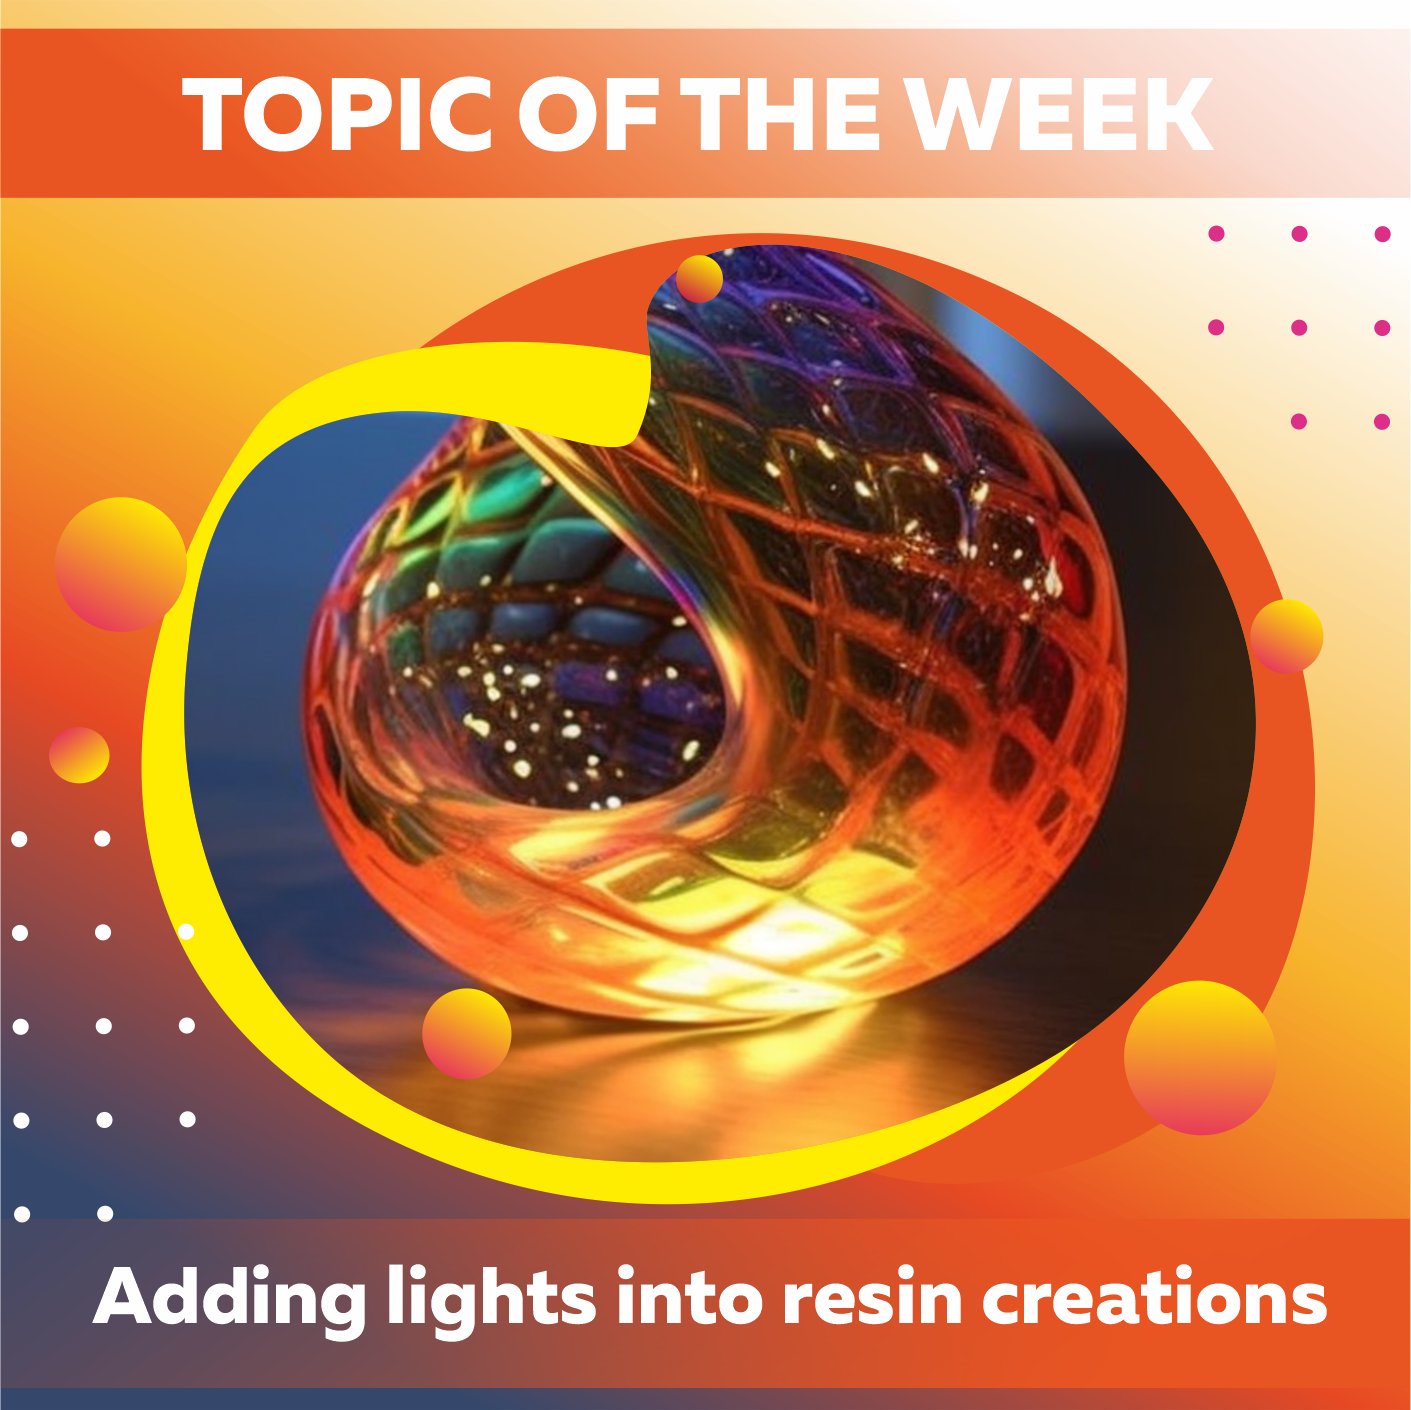
Many individuals will soon spend nice evenings at home with dimmed lights as the seasons change and the days become shorter. If you sell resin crafts and want to give your consumers something extra special this season, including lights in your works is a terrific idea.
Keep reading to find out how to cast lights into your projects...

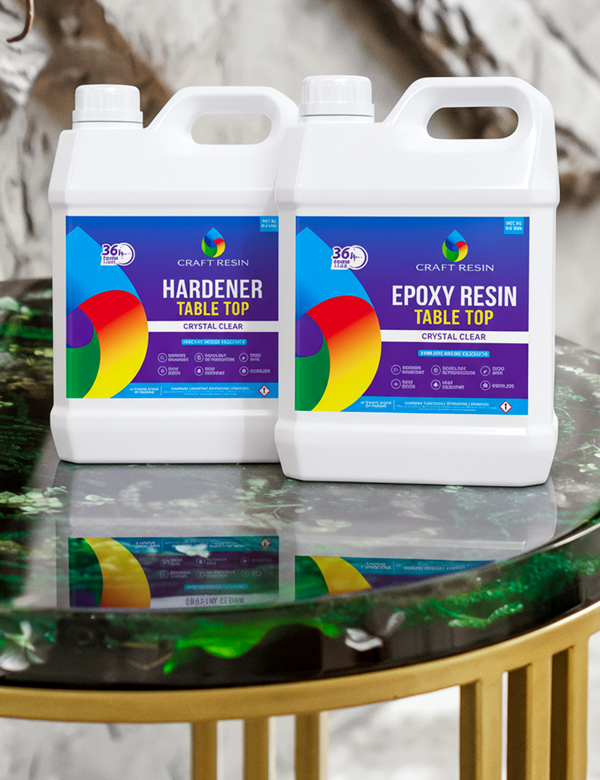
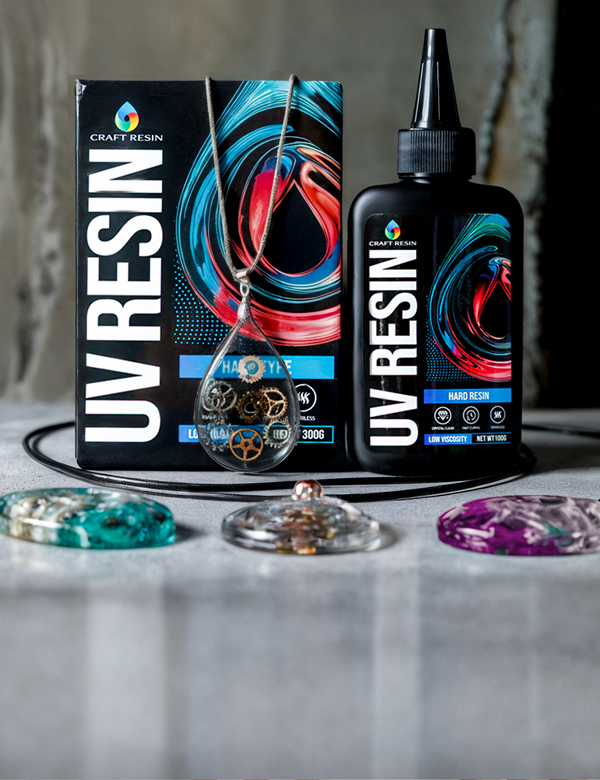
LED lights are the kind of lights that should be used while working with an epoxy resin gallon kit. These may be purchased for a low price and can be found in various lengths, sizes, and colors when purchased online. LED lights are wonderful since they do not become warm. However, using resin with any lights that heat up while they are on is not suggested. This is because the heat may affect the resin, and the resin can become flexible due to the heat. Your project will determine the kind of LED lights you will need; for example, if your project is modest, you may want to go with LED lights that are not as powerful.
To begin, prepare your working environment as you normally would. When working with resin, ensure that you have taken all of the necessary safety precautions, that your workspace is covered in case of a spill, and that you have all the necessary equipment within easy reach. As soon as you begin dealing with resin, you will only sometimes have the time to rush off and obtain more tools while you're in the middle of the procedure.
Besides the lights, the resin may also be decorated with pigments and additions like glitter to obtain the desired effect. You may need to add less color to make the resin see-through so the lights may show through. The fun part is figuring out the perfect colors by playing with the lights.
You may only need a small quantity of an additive like glitter if you use lights in your resin creations since the lights will reflect and amplify the glitter, making it stand out more.

Start by combining your resin and adding your colors. If you're looking for our recommendations on measuring, mixing, and pouring resin, they're right here. Put the resin mixture aside while you have the lights ready.
Before you put your lights in your mold, you want to make sure that they turn on, and all you need to do to test this is scrunch the wire up or coil it around so that it can fit in your mold in the manner that you want it to look when it's finished. This will give you an accurate representation of how it will look in your finished item.
Ensure that your battery pack and plug are not inserted into the mold. If you are going to be working with LED lights that come with a plug, you need to make sure that you leave enough wire at the end of the project so that it can be plugged in with enough space between it and the socket so that it is not right up against the socket.

When you are satisfied that the lights are about where you want them to be in the mold, you may pour in the epoxy resin mix as you usually would. Even if your project is more substantial and you are working with a DIY resin starter kit similar to ours that must be built up in layers, you can still do this even if it contains lights. When layering, you may need to keep an eye on the lights to ensure they don't move out of place while you're waiting to pour the next layer. If this is the case, all you have to do is keep an eye on them.
Once your project has been poured, you may burn the bubbles from the top as usual. However, you should exercise caution if you are doing this while layering since you may need to be extra cautious with the torch near the lights themselves, or you should avoid doing so entirely.
After this, you'll have to step away from your crafts so they can dry off. You may learn more about our curing periods by clicking here. The amount of time required to cure each brand's resin varies somewhat.
After the projects have been allowed to dry, you may remove the molds from the projects and then turn the lights on to see the final impact. The darker you can make the room, the better the projects will seem.
After that, you may complete the remaining aspects of your crafts, like trimming the edges and cleaning up any drips over your mold, just as you would with any other project.

We wish you a lot of fun as you play around with different ways of incorporating lights into your works. Please use the hashtag #craft. Resin if you want to include us in photos of things made using resin and lights.
We are always amazed by all the wonderful things you have made, and we take great pleasure in seeing your progress as you explore the world of resin with us.
Team Craft Resin