


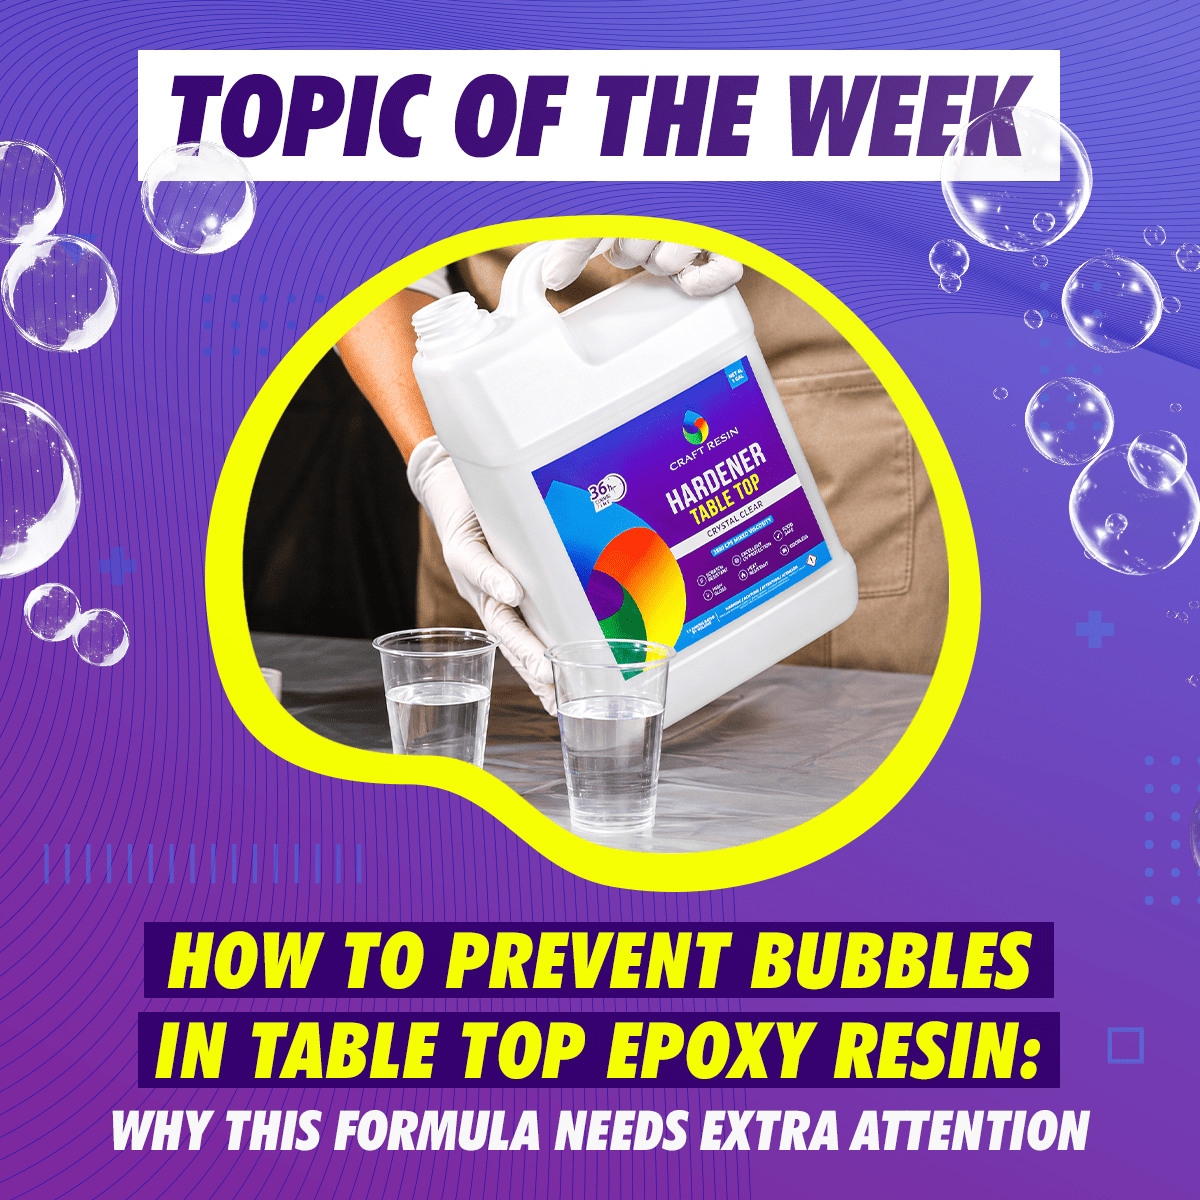
You mix slowly, pour carefully, pass the torch over the surface - and then the bubbles come back. With Table Top epoxy resin, this is a common problem. Because the formula is thicker than many craft resins, bubbles do not rise and pop as easily. They can stay suspended in the resin, return from an unsealed wooden surface, or become trapped before the coat has time to level.
In this guide, you’ll learn:
- why Table Top epoxy resin is more prone to bubbles;
- how temperature and viscosity affect bubble release;
- which mistakes cause bubbles before, during, and after pouring;
- how to use a seal coat, thin layers, and torch technique correctly;
- how to repair bubbles in a semi-cured or fully cured surface.
Quick Answer: Bubbles in Table Top epoxy resin usually come from cold resin, fast mixing, unsealed surfaces, and poor torch technique. Because Table Top has a higher viscosity than other resin formulas (around 3800 CPS when mixed), bubbles travel upward more slowly and need more help to escape. The fix starts before you open the bottles, not after you pour.

The trade-off is bubble release. In a thinner resin, small air bubbles can often rise and pop with minimal help. In Table Top resin, the same bubbles move more slowly, stay suspended for longer, and may need the right temperature, rest time, thin layer depth, and torch technique to escape cleanly.
A few small bubbles after mixing are normal. The real warning signs are bubbles that keep coming back after torching, clusters of tiny bubbles trapped throughout the coat, or bubbles rising from the surface underneath. These usually point to cold resin, aggressive mixing, an unsealed porous surface, or a coat that was poured too thick.
Once you understand this difference, bubble prevention becomes much easier: reduce the amount of air you add, make it easier for bubbles to rise, and remove surface bubbles while the resin is still within its working time.
Quick Bubble Diagnosis

| What you see | Most likely cause | What to do |
|---|---|---|
| Bubbles appear right after mixing | The resin was mixed too fast or was too cold | Warm the bottles and mix more slowly |
| Bubbles return after torching | The surface is porous and was not sealed first | Apply a seal coat before the flood coat |
| Tiny bubbles stay trapped inside the coat | The resin is too cold or the layer is too thick | Work warmer and pour thinner layers |
| Yellow marks appear after torching | The torch was held too close or too long in one place | Keep the torch moving at 15–20 cm from the surface |
| Craters, gaps, or fish eyes appear instead of bubbles | The surface is contaminated with dust, oil, silicone, or moisture | Clean the surface, sand if needed, and apply a fresh coat |
| Bubbles appear along wood grain or live edges | Air is escaping from unsealed wood pores | Sand back if needed, apply a thin seal coat, let it cure, then re-pour |
| Bubbles remain deep inside the cured layer | The coat was poured too thick or the resin became too viscous before bubbles escaped | Sand the surface and recoat in thinner layers within the recommended depth |
For a full breakdown of how Table Top compares to Arts and Crafts resin across all properties, watch our Table Top vs Arts and Crafts comparison video or read the complete formula comparison guide.
Table Top Epoxy Resin: Key Properties That Affect Bubbles
| Property | Craft Resin Table Top | Why it matters for bubbles |
|---|---|---|
| Mixed viscosity | 3800 CPS | High viscosity slows bubble travel to the surface |
| Ideal working temperature | 24–30°C / 75–85°F | Cold resin becomes thicker, trapping more air inside the coat |
| Working time | 30–45 minutes | This is the main window for degassing, torching, and removing surface bubbles before the resin thickens |
| Recommended pour depth | 3 mm / 1/8 inch per coat | Thin coats give bubbles a shorter distance to travel before they reach the surface |
| Self-leveling | Yes | Helps the surface settle evenly, but does not release trapped air on its own |
| Hard cure | 36 hours | Bubbles that are not removed early become permanently sealed into the cured surface |
The combination of high viscosity and a 30-45 minute working time means the window for bubble removal is tighter than with thinner formulas. Getting the pre-pour steps right is what closes most of the gap.

The Main Causes of Bubbles in Table Top Epoxy Resin
Cold resin and cold workspace
Cold resin is thicker resin. When Table Top resin is stored below room temperature or used in a cold workspace, the viscosity increases even further beyond the standard 3800 CPS. Bubbles that would have risen and popped in warm resin stay suspended and become sealed in as the resin cures.
The fix starts before you open the bottles. The room must be at a stable 24-30°C before mixing begins and must stay at that temperature for the full cure period. The resin bottles themselves should also be at room temperature.
Air introduced during mixing
Fast or aggressive mixing is the most controllable cause of bubbles in any resin, and it is especially damaging in a high-viscosity formula. When you mix quickly or use a whisk-like motion, air gets folded into the resin. In a thin formula, those bubbles escape quickly. In Table Top resin, they get trapped.
Slow, steady, deliberate mixing for the full 3-5 minutes is not optional. It is the single most important step in bubble prevention.
Unsealed porous surfaces
Wood, concrete, MDF, and other porous materials release air as the resin warms during curing. This trapped air pushes up through the resin from below, creating bubbles that keep reappearing even after multiple torch passes. The surface looks clean, you torch it, and ten minutes later the bubbles are back.
The only fix is a seal coat applied before the flood coat. A thin layer of resin brushed into the surface and allowed to fully cure seals the pores and prevents air from migrating upward. This step is especially important for live-edge wood, raw timber, and any surface with visible grain or texture.
For a detailed guide on how to achieve a bubble-free surface coat and avoid fish eyes, craters, and dry spots, read our article on achieving a glass-like Table Top finish.
Pouring from too high
Pouring resin from height stretches the stream and folds air into the material as it lands. With a high-viscosity formula, that air does not escape easily. Pour with the cup close to the surface and in a slow, controlled stream.
Surface contamination
Silicone residue, dust, skin oils, and moisture on the surface cause the resin to repel and pull back in certain areas. This creates craters and apparent gaps that look similar to bubbles. Clean the surface thoroughly with isopropyl alcohol before pouring and allow it to dry completely.
Torch technique errors
A torch is essential for Table Top resin, but using it incorrectly can make the result worse. Holding the torch too close scorches the surface and causes yellowing. Holding it too far means the heat does not reach the bubbles. Moving it too slowly causes heat buildup. Not using it at all leaves surface bubbles permanently sealed in.
How to Prevent Bubbles in Table Top Epoxy Resin: Full Process
Before you mix
Warm both bottles in lukewarm water for 10-15 minutes before opening. This is the most effective single step for reducing bubbles in Table Top resin. Warmer resin has lower viscosity, which means bubbles travel upward faster and the material mixes more evenly.
Make sure the room is at 24-30°C and has been at that temperature for at least an hour before you start. A room that feels warm but has just been heated from cold will have cold spots, especially near the floor and walls, that affect the cure.
If you are working on wood or any porous surface, apply a seal coat first. Brush a thin layer of Table Top resin over the entire surface, work it into the grain, and allow it to cure fully before the flood coat. This is a non-negotiable step for bubble-free results on wood.
During mixing
Measure at 1:1 by volume using graduated cups. Pour Part B into the cup with Part A and begin stirring immediately. Keep the mixing stick fully submerged throughout the entire mix. Stir in slow, consistent circles, scraping the sides and bottom of the cup as you go.
Mix for the full 3-5 minutes without rushing. The mixture should look completely uniform and clear with no streaks or swirls before you stop.
After mixing, let the cup rest on a flat surface for 3-5 minutes. This is longer than the rest time recommended for Arts and Crafts resin, because the higher viscosity of Table Top means bubbles from mixing need more time to travel to the surface and pop on their own.
Use the double-mix method for best results: after the first mix, pour the resin into a second clean cup and stir for one more minute. This eliminates any unmixed material clinging to the walls of the first container, which is one of the hidden causes of soft spots and curing inconsistency.
During pouring
Pour slowly, keeping the cup close to the surface. Do not scrape the sides of the mixing cup into the pour. Any unmixed material on the sides will not cure correctly and may leave soft or cloudy patches.
Pour the full amount needed for the surface in one continuous pour where possible. Stopping and restarting mid-pour can create visible lines or uneven sections as the resin begins to self-level.
Keep the pour within the 3mm / 1/8 inch layer depth. Table Top resin poured thicker than this traps more air and generates more heat during curing, which increases the risk of yellowing and surface defects. For more depth, apply multiple coats after each layer has reached full cure.
After pouring: torch technique
Pass the torch over the surface at a distance of 15-20cm. Keep it moving continuously. Do not hold it in one place. One slow, steady pass from one end of the surface to the other is more effective than repeated short passes over the same spot.
After the first torch pass, wait 5-10 minutes and pass again. As the resin warms slightly during the early stages of curing, new bubbles from deeper in the material may rise to the surface. A second torch pass removes these before they can settle.

Continue monitoring for the first 30-45 minutes. After this point the resin starts to thicken and any remaining bubbles become increasingly difficult to remove.
Cover the piece loosely after torching to protect it from dust during the cure. Do not use an airtight cover.
How to Fix Bubbles That Have Already Appeared
Semi-cured resin (within the working time)
If bubbles appear while the resin is still liquid, a torch pass will remove most of them. Work quickly within the 30-45 minute working time window. After this point the resin becomes too thick for bubbles to rise and for the torch to be effective.
Fully cured resin with surface bubbles
If bubbles have cured into the surface, sand the entire surface with 220-grit sandpaper until the surface is uniformly matte. Wipe clean with isopropyl alcohol and allow to dry. Apply a fresh coat of Table Top resin directly on top. The new coat bonds to the sanded surface and fills the imperfections.
Bubbles rising from a porous surface
If bubbles keep reappearing from below after multiple torch passes, the surface is releasing air from pores. Sand back, clean the surface, apply a seal coat, allow full cure, and then re-pour the flood coat. There is no torch technique that fixes an unsealed porous surface.
For a full guide to fixing fish eyes, craters, and surface defects that appear alongside bubbles, read How to Achieve a Glass-Like Table Top Epoxy Finish.

Pro Tips for Bubble-Free Table Top Results
- Use an anti-bubble spray. An alcohol-based anti-bubble spray applied lightly after pouring helps surface bubbles break before the torch pass. It works well as a first step before torching, especially on larger surfaces where a single torch pass may not cover everything evenly.
- Work in pairs on large surfaces. For countertops and bar tops, one person pours while the other follows immediately with the torch. This reduces the time between pour and bubble removal and keeps the process within the working time window.
- Do a test pour first. Before committing to a full countertop or bar top, do a small test pour on a piece of scrap wood of the same type. This confirms whether a seal coat is needed, how the resin self-levels on that specific surface, and how many torch passes are needed for a clean result.
- Never skip the rest time after mixing. The 3-5 minute rest after mixing is not optional for Table Top resin. Skipping it means pouring resin that is still full of mixing-related air. Let it sit in the cup and let the bubbles work their way up before the material hits the surface.
- Store resin at room temperature year-round. Do not store Table Top resin in a garage, shed, or any space that gets cold in winter. Cold storage thickens the formula and makes it significantly harder to work with, even after warming. Store at consistent room temperature with the lids sealed tightly.
Quick Recap
Before every Table Top pour, keep these points in mind:
- Warm both bottles for 10-15 minutes before mixing
- Keep the room at 24-30°C throughout the pour and the full cure
- Always seal porous surfaces before the flood coat
- Mix slowly for 3-5 minutes and rest the mixed resin for 3-5 minutes before pouring
- Pour close to the surface in a slow, controlled stream
- Torch at 15-20cm distance, keep the heat moving, do two passes
- Stay within the 3mm per layer depth limit
- Cover loosely after torching and leave undisturbed for 36 hours
FAQ: Bubbles in Table Top Epoxy Resin
Why does Table Top resin have more bubbles than Arts and Crafts resin?
Table Top resin has a higher viscosity: 3800 CPS mixed vs 1400 CPS for Arts and Crafts resin. Thicker resin slows the upward travel of bubbles, which means they need more help to reach the surface and escape. The prevention steps are similar for both formulas, but they become more important and less forgiving with Table Top.
Why do bubbles keep coming back after I torch them?
Bubbles that reappear after torching almost always come from an unsealed porous surface below the resin. Wood and other porous materials can release air as the resin warms during curing. The only reliable fix is to apply a seal coat and let it fully cure before the flood coat. No amount of torching can solve a porous surface problem.
How long do I have to remove bubbles after pouring?
The working window for bubble removal is usually 30-45 minutes at 23-25°C. After this point, the resin starts to thicken and bubbles become increasingly difficult to remove with a torch or heat gun. Getting the pre-pour steps right means fewer bubbles to deal with during this window.
Can I use a heat gun instead of a torch?
Yes. A heat gun at a low to medium setting can work for surface bubble removal. Keep it 15-20 cm from the surface and move continuously. A torch gives more focused heat and is often easier to control on smaller areas, while a heat gun can be more practical for larger surfaces.
Does pouring in a thicker layer cause more bubbles?
Yes. Pouring thicker than the recommended 3 mm per layer increases the distance bubbles need to travel to reach the surface. It can also generate more heat during curing, which may accelerate thickening and reduce the time available for bubble removal. Stay within the 3 mm limit and build depth across multiple cured layers.
Can I add another coat of resin to fix bubbles in a cured surface?
Yes. Sand the cured surface with 220-grit sandpaper until it is uniformly matte, wipe it clean with isopropyl alcohol, and apply a fresh coat directly on top. The new coat bonds to the sanded surface and covers the imperfections. If the bubbles came from an unsealed porous surface, apply a seal coat first before the correction coat.
Why is my resin yellowing around the areas where I used the torch?
Yellowing from torching is usually caused by holding the torch too close or keeping it in one spot for too long. Keep the torch 15-20 cm from the surface and keep it moving at all times. Short, controlled passes are more effective and safer than prolonged heat exposure in one area.
Does the working temperature affect how many bubbles appear?
Yes. Cold resin produces significantly more bubbles because lower temperature increases viscosity. A room at 18°C will produce a noticeably more bubble-prone pour than the same resin used at 25°C. Warm the room, warm the bottles, and keep the temperature stable for the full cure period.
Further Reading and Watching
For more on working with Table Top epoxy resin and getting a flawless surface finish, these resources cover the most common questions and problems in detail.
Ready to Get a Bubble-Free Finish?
Bubbles in Table Top epoxy resin are not a product problem. They are a process problem. Warm the bottles, mix slowly, seal the surface, pour at the right depth, and torch correctly. Follow those steps and the high viscosity that makes Table Top resin so effective as a surface coating works in your favour instead of against you.

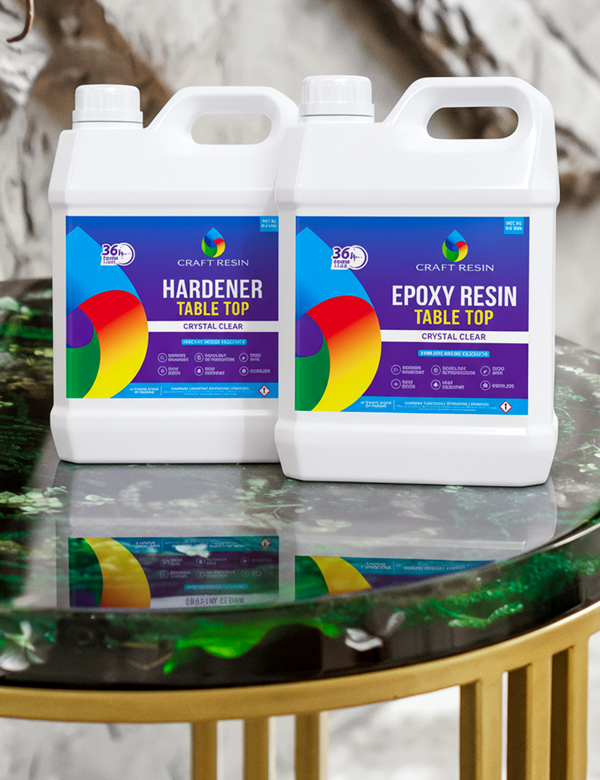
Shop Craft Resin Table Top Epoxy and start your next project with the right formula and the right technique.

