


- What is UV resin?
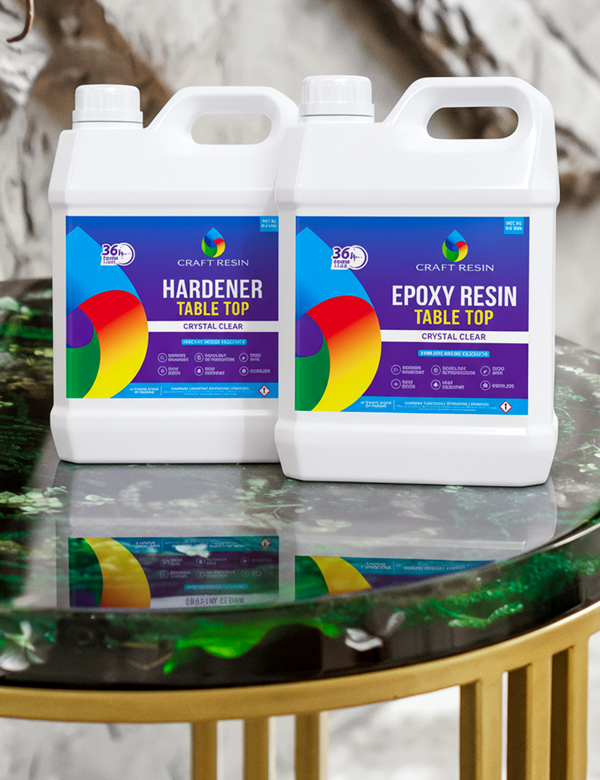
- UV Resin vs Standard Epoxy
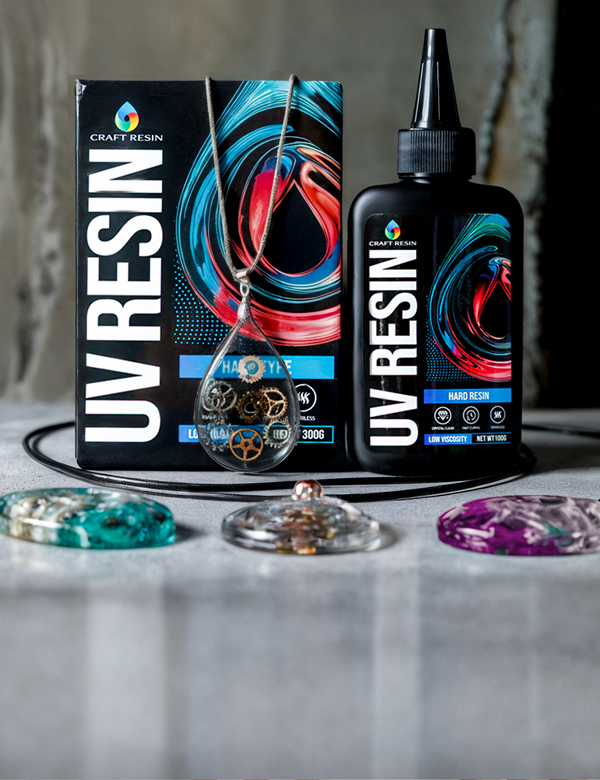
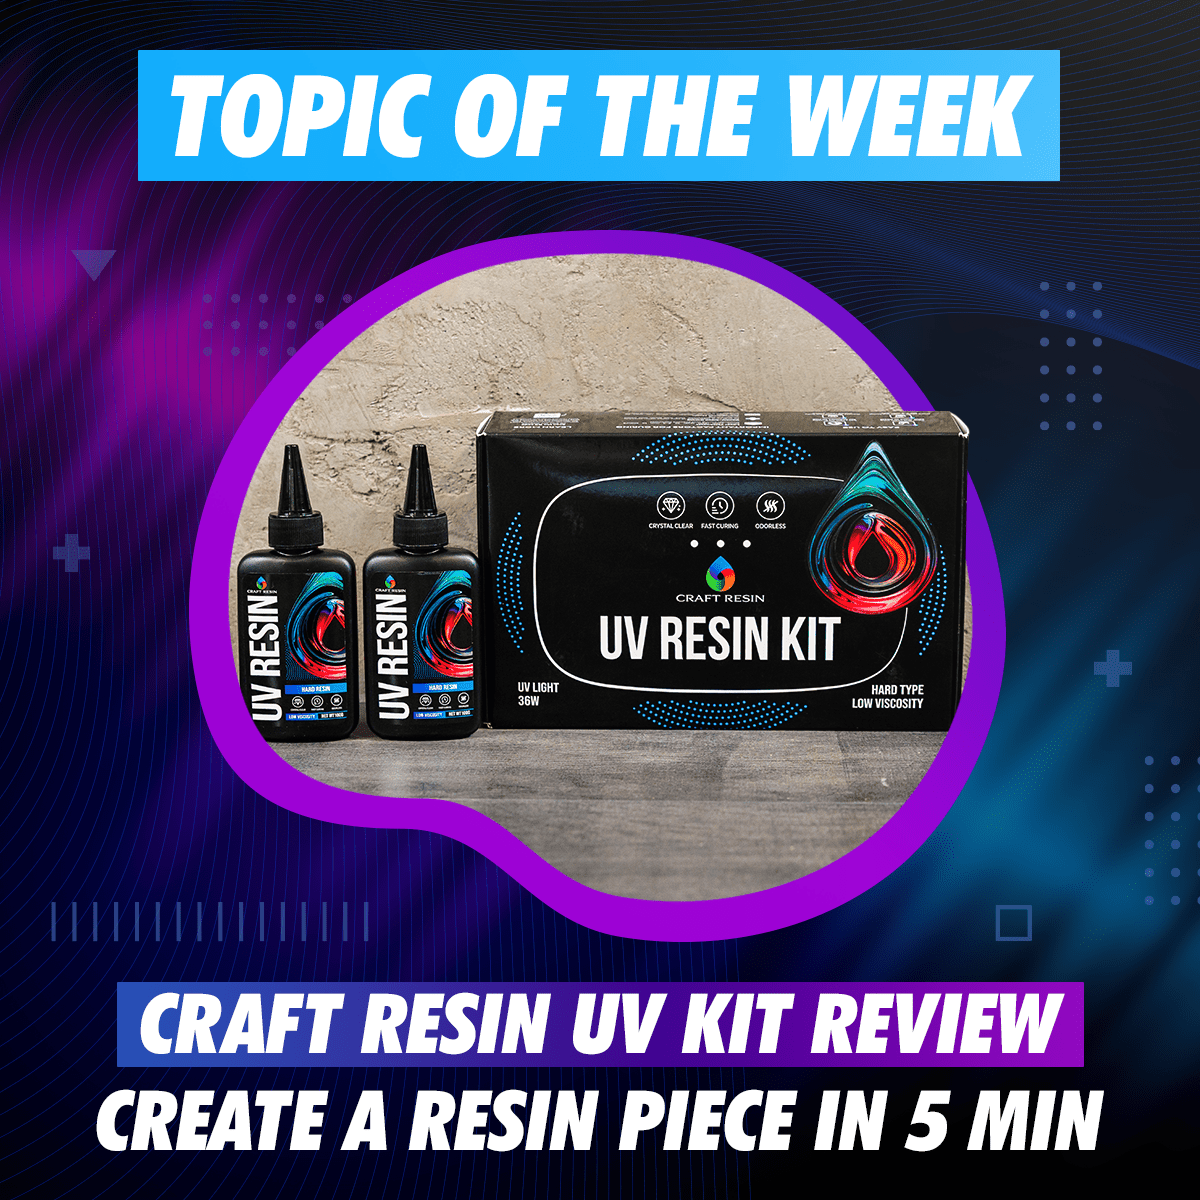
- What is included in the Craft Resin UV Kit
- Why the 36W lamp with 22 LED beads matters
- Craft Resin UV resin properties and why they matter
- Step-by-Step: Your Professional 5-Minute Workflow
- FAQ: Mastering the Cure and Troubleshooting
- Summary: Quick Recap
UV resin kits have become a standard entry point into modern DIY and arts and crafts projects. Craft Resin UV Kit combines UV curable resin with a compatible lamp and basic craft supplies, creating a ready-to-use system for small-scale work.
UV resin gained popularity in the hobby space due to its fast curing under light, minimal setup, and suitability for detailed resin art. Unlike traditional systems, it allows for quick, controlled results, making it especially relevant for beginners and casual makers working on jewelry, charms, keychains, bezels, and other small projects.
If you want a broader overview before starting, read our UV Resin Guide: Key Facts & Tips
What is UV resin?
UV resin is a one-part photopolymer used in DIY, arts and crafts, and hobby projects. Unlike epoxy resin, it does not require a separate hardener. The material remains liquid until exposed to ultraviolet light, where photoinitiators trigger rapid polymerization and form cured UV resin with a hard, glossy finish. Craft Resin UV resin is formulated to cure within the 365–405 nm wavelength range for consistent results.
The main difference in UV resin versus epoxy lies in the curing process. Epoxy resin cures through a chemical reaction after mixing two components and typically takes several hours. In contrast, UV resin cures within minutes under UV light, allowing for faster and more controlled results.
This on-demand curing makes UV resin suitable for detailed work such as jewelry, charms, bezels and other small projects made in thin layers. Deep pours and large castings need a different resin system, because UV light only penetrates a few millimeters into the material.
Prefer to see the process first? Watch this complete guide to how UV resin works in practice
For a deeper technique guide, read UV Quick Cure Resin: Expert Guide to Avoid Mistakes and Master the Craft
UV Resin vs Standard Epoxy
| Feature | UV Resin (One-Part) | Standard Epoxy (Two-Part) |
|---|---|---|
| Mixing Process | Ready to pour. No mixing required | Requires 1:1 or 2:1 ratio mixing |
| Cure Time | 60–180 seconds under UV light | 24–72 hours at room temperature |
| Control | You decide when it cures by turning on the light | Curing begins as soon as the parts are mixed |
| Layer Depth | Best for thin layers up to 1–3 mm | Can be poured in deeper volumes up to 60 mm |
| Shrinkage | Very low, less than 2% with high-grade formulas | Minimal, but varies by brand |
This comparison helps explain where each material fits best. UV resin is the better choice for fast, thin, detailed work. Epoxy is the better choice when the project needs more depth or more volume.
What is included in the Craft Resin UV Kit?
The Craft Resin UV Kit is designed to give you a full starter setup for small UV resin projects. Each item has a clear purpose and helps make the workflow easier from the start.
200g Premium UV Resin
The kit includes two 100g bottles of ready-to-use UV resin. The smaller bottles are easier to handle during detailed work. The resin is crystal clear, bubble free, and designed for a hard, glossy finish on small projects.
36W UV Lamp with 22 LED Beads
This is the main curing tool in the kit. The lamp is designed for small resin projects that need quick and even curing. The 22 LED beads help spread light more evenly across the surface.
Silicone Mat
The mat helps protect your table from spills and drips. It also helps keep the workspace cleaner and more organized during small resin projects.
Cups and Sticks
These tools help when you want to add glitter, mica, dried flowers, or UV-compatible colorants. They make it easier to work with small amounts of resin and keep the process neater.
Gloves
The gloves help keep the process cleaner and more comfortable. They protect your hands while pouring, decorating, and handling uncured resin.
Together, these items create a simple, beginner-friendly workstation. Instead of building a setup piece by piece, you can start with a kit that is already put together for this kind of project.
Want to see how the kit comes together in a real beginner-friendly setup? Watch it here
Why the 36W lamp with 22 LED beads matters
A good UV lamp is one of the most important parts of getting a clean final result. If the lamp is too weak, the wavelength is wrong, or the light does not reach the whole piece evenly, the resin may stay sticky, soft, or under-cured. That is why lamp choice matters so much with UV resin.
When choosing a lamp, there are a few key things to look at.
Wavelength
UV resin cures only when the photoinitiators receive the right UV-A range. Craft Resin UV resin is designed for 365-405 nm light. The lamp needs to match that range for reliable curing.
Light intensity
A stronger lamp helps the resin cure faster and more evenly. Wattage alone does not tell the whole story, but a lamp still needs enough output to cure the resin well.
Coverage
Even light is important. Good coverage helps prevent dead zones, especially around mold edges, bezels, and textured pieces. A lamp with more LED beads can help spread light more evenly across the project.
Distance from the resin
Light becomes weaker as the lamp moves farther away from the piece. That is why small resin projects usually cure best when kept close to the lamp at a consistent distance.
Ease of use
A practical curing setup should also be simple to use on a craft table. A compact lamp makes regular projects easier and more convenient.
Common UV lamps usually fall into three groups: 365 nm lamps, 405 nm lamps, and lamps that work across the 365-405 nm range. For a resin designed to cure in the 365-405 nm range, the lamp should also emit in that range.
The Craft Resin kit includes a 36W lamp with 22 LED beads. This gives you a powerful curing tool for small projects. The lamp is designed to dry resin quickly and more evenly on thin, light-accessible pieces. The LED layout helps improve coverage across the project surface. The lamp is also USB-powered, which makes the setup easy to use on a regular craft table.
If you want a more technical breakdown of lamp specs and how they affect curing, read Best UV Lamp for Resin: How to Choose Watts, Wavelengths, and Avoid Fake High Power
Craft Resin UV resin properties
The Craft Resin UV resin is made for small projects that need speed, clarity, and a clean finish. The formula is crystal clear, bubble free, high gloss, and designed to stay non-yellowing over time.
Another important benefit is ease of use. The formula is ready to use straight from the bottle, so there is no mixing step. That makes the process simpler and cleaner, especially for beginners. The product page also highlights safety-related approvals in the certification section.
| Property | Craft Resin Specification | Why it Matters |
|---|---|---|
| Final Hardness | Shore 85D | Glass-like feel. It is scratch-resistant and won't become "bendy" in heat |
| Viscosity | 2000 CPS (Low) | Bubbles rise and pop naturally. It flows into the tiny corners of intricate molds |
| Clarity | Optical Grade / Crystal Clear | Non-yellowing formula helps jewelry and decorative pieces stay bright and clear over time |
| Shrinkage | < 2% | High surface fidelity; it won’t pull away from the edges of your bezels |
Beyond the table, a few practical points matter. Craft Resin says small projects usually cure in 1-3 minutes under UV light. The formula is best used in thin, light-accessible layers. A thickness of up to about 3 mm per layer is the safer approach for more even curing.
Where you can use the Craft Resin UV Kit
The Craft Resin UV Kit is best suited for small, detailed projects where fast curing and light access are critical.
Jewelry and charms
Ideal for pendants, earrings, rings, and small decorative pieces. UV resin provides high clarity and a hard, glossy finish, which is especially important for wearable items.
Bezels and open-back designs
UV resin works particularly well in shallow settings. Thin layers allow light to reach the entire piece, ensuring even curing without sticky areas.
Keychains and small molded items
For lightweight molds and simple shapes, the kit enables a faster workflow and quick turnaround compared to traditional epoxy systems.
Glossy coatings and surface finishes
UV resin is commonly used for doming and sealing surfaces. It creates a smooth, glass-like top layer on stickers, artwork, or small craft elements.
Limitations to consider
UV resin is not suitable for deep pours or large castings. Ultraviolet light penetrates only a few millimeters, so thicker pieces may remain under-cured inside.
Step-by-Step: Your Professional 5-Minute Workflow
A five-minute workflow is realistic for a simple, small project. The key is to keep the piece thin and easy for light to reach.
-
Prepare the workspace properly
Work on a clean, level, dust-free surface. Keep all materials close by before you start - resin, lamp, molds, colorants, decorations, gloves, and tools.
A stable room temperature helps the resin cure more evenly. A room around 20-25 °C works best. Lower humidity also helps. A range around 50-60% is a good target. Avoid working in a dusty space.
Wear gloves, an apron, and protective eyewear before starting. Good ventilation is also important. -
Prepare the mold and decor
Get the mold and all decorative elements ready before opening the resin. Clear or light-transmitting molds work best because light needs to reach the resin as evenly as possible.
Not every mold is ideal for UV resin. Very dense molds can block light and leave the bottom under-cured. Thinner white or transparent molds are usually the safer choice.
This is also the right time to prepare dried flowers, glitter, foils, bezels, and findings. UV resin moves quickly once you begin layering, so it helps to have everything ready first. -
Add color and inclusions carefully
UV resin does not need mixing with a hardener, but colorants and decorations still need to be added carefully.
Use UV-compatible dyes, mica, glitter, dried flowers, or small inclusions in moderation. Some colorants can block UV light. Very opaque pigments can make curing harder. Non-UV-compatible colorants can also cause problems.
If you want stronger color, build the look in thin layers. Do not try to create one thick, dense, opaque layer all at once. -
Pour in thin layers
UV resin cures best in thin pours. Light only penetrates a few millimeters into the material. That is why thin layers are so important.
A safer rhythm is about 1-3 mm per layer. If you want more depth, build it gradually. Cure one layer first, then add the next. -
Cure under the lamp - from both sides
This is one of the most important steps. UV resin should be cured from both sides whenever possible.
Light must physically reach every part of the piece. More time on the top does not fully solve a shadowed bottom. That is why curing from both sides matters so much.
Cure each layer for about 1-3 minutes per side. The exact time depends on thickness, clarity, and how much pigment or decoration is inside. Clear thin layers cure faster. More loaded layers may need longer or several passes.
Rotate or flip the piece if the mold design allows it. -
Build layers for more depth
If the design needs more depth, do not pour everything at once. UV resin works better as a layered system.
Cure one thin layer. Then add the next. This helps you build a more dimensional look without creating a sticky center. -
Let the piece cool and inspect the cure
After curing, let the piece cool briefly before demolding or judging the final finish. Then inspect for sticky spots, trapped bubbles, or areas that need another short cure pass.
Before you pour and cure, here is a quick visual walkthrough showing how to use UV resin correctly
FAQ: Mastering the Cure and Troubleshooting
What else might I need to work with UV resin?
Beyond the kit itself, many makers also use molds, decorative elements, UV-compatible colorants, bezels, jewelry findings, and small placement tools. The kit gives you the core curing setup. The rest depends on the kind of pieces you want to make.
Do all molds work well with UV resin?
Not always. UV resin cures best in clear or light-transmitting molds where light can reach the resin properly. Transparent molds are usually the safest choice for beginners. Very dense molds can block light and leave the bottom under-cured.
How do I clean the silicone mat, cup, and sticks?
Once leftover resin is fully cured, it is much easier to remove from silicone tools and mats. A practical method is to cure the residue under the lamp first, then peel or lift it away carefully.
How do I get rid of bubbles?
Let the resin sit for 3-5 minutes before curing so small bubbles can rise. Avoid pouring too aggressively. The low-viscosity formula also helps bubbles release more easily in thin layers. A bubble spray can also be useful in some setups.
Why is my UV resin still sticky?
The most common reasons are not curing both sides, pouring too thick, using too much pigment, using the wrong kind of colorant, or blocking too much light with the mold or inclusions.
Summary: Quick Recap
Before starting, keep these points in mind:
- All-in-one UV resin kits are worth it when you want a full setup that is ready to use
- The Craft Resin UV Kit includes 200g of UV resin, a 36W lamp with 22 LED beads, and the basic tools needed for a cleaner workflow
- UV resin is a one-part, no-mix material that cures under UV light and works best for small, thin, light-accessible projects
- The lamp matters because proper curing depends on wavelength, intensity, coverage, and distance
- Thin layers, clear molds, and curing both sides help produce faster and more even results
Craft Resin UV Kit is designed to make fast-curing resin work easier to start and easier to control. For beginners, it removes much of the setup guesswork. For makers who already enjoy small resin projects, it creates a cleaner and more reliable workflow.
Ready to Start Your First Project?
If you want a faster and simpler way to make jewelry, charms, bezels, and other small resin pieces, the Craft Resin UV Kit gives you a practical all-in-one setup to start with. The no-mix resin, 36W lamp, and included tools help support quick, polished results on the right kinds of projects.
